Embedded eSignature: How In-App Document Signing Works
Learn how embedded signing keeps document signing inside your app, including how signing sessions, APIs, webhooks, and audit trails work together.

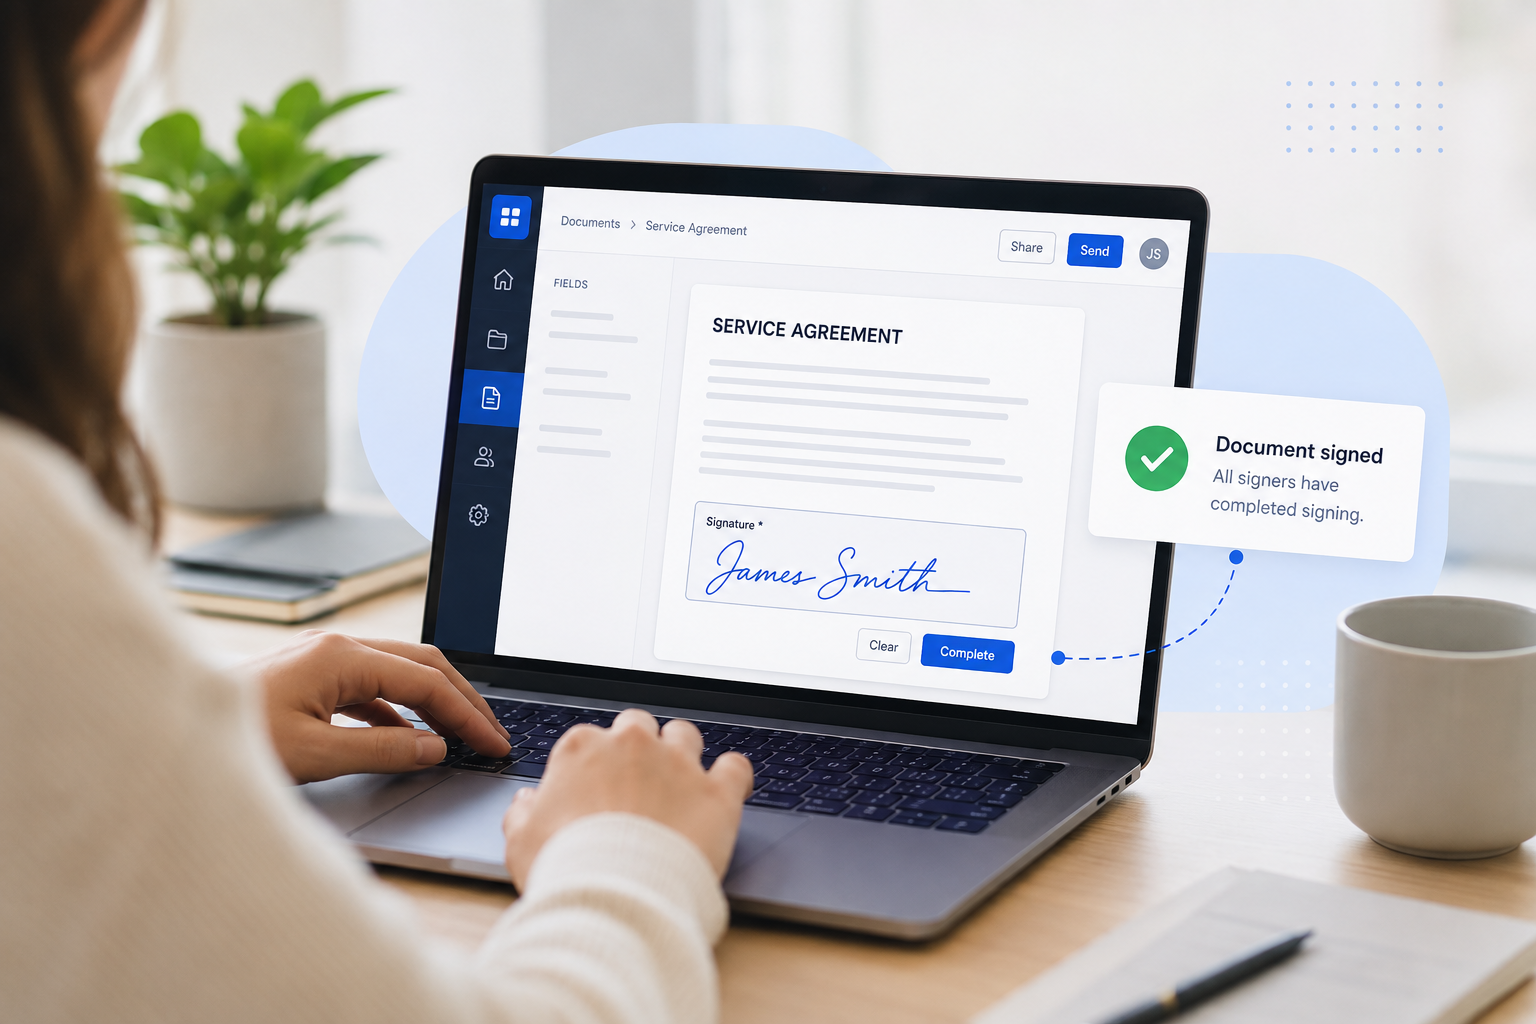
A customer who has to leave your app, open an email, find a document, and return to finish signing has more opportunities to drop off. For products such as loan applications, onboarding platforms, healthcare portals, and contract management tools, that extra step can interrupt the workflow at exactly the wrong moment.
Embedded signing keeps the signing step inside your product. With an eSignature API, your application can create a signing session, display the document within your existing interface, and receive confirmation when the document is completed, all without sending the signer to a separate signing website.
What is embedded eSignature?
Three characteristics distinguish embedded signing from a standard email-based signing workflow:
- The signing view is embedded in your product. The document appears within your app or website instead of opening a separate signing page.
- Your application starts the signing session. An API call creates the document and signing experience instead of relying on an email invitation.
- Your product controls the surrounding experience. You can maintain your branding, navigation, authentication, and workflow around the signing step.
A typical implementation involves an API key, document, fields, recipient, signing session or signing URL, and webhook. The API handles communication between your application and the eSignature provider, while webhooks tell your application what happened to the document.
Learn more about electronic signature software
Embedded eSignature architecture at a glance
The basic architecture is straightforward:
Embedded signing vs. email (remote) signing
Embedded and remote signing use the same basic concept—collecting an electronic signature—but they fit different workflows.
Email signing is still the better choice when you simply need to send a document to someone outside your application. It requires less development and works well when the recipient can complete the signing task independently.
Embedded signing makes more sense when the signature is one step in a larger workflow and keeping the signer inside your product improves completion or usability.
How in-app document signing works, step by step
1. Authenticate with the eSignature API
Start by authenticating your application with the provider's API. Most platforms provide an API key or similar credentials that identify your application and authorize API requests.
Use sandbox or test credentials while developing. Production credentials should be kept on your server and never exposed in client-side JavaScript or application code that users can inspect.
2. Create the document and place the fields
Next, provide the document that needs to be signed. Depending on the provider, you may upload a PDF or create the request from a saved template.
Signature and form fields can generally be positioned in two ways:
- Fixed coordinates: Place a field at a specific location on a page.
- Text anchors or tags: Associate a field with specific text in the document.
Coordinates work well for documents with a fixed layout. Anchors are more resilient when documents change because the field can be positioned relative to matching text instead of depending on an exact page coordinate.
3. Add recipients, roles, and signing order
Define who needs to interact with the document and what each person can do.
A workflow might include:
- Signers who provide signatures
- Approvers who review the document
- CC recipients who receive a copy without signing
You can also define signing order. Sequential routing requires one recipient to complete their step before the next person receives access. Parallel routing allows multiple recipients to complete their steps independently.
4. Request a signing session URL or token
Your backend requests a signing session for the recipient. The provider returns a temporary signing URL or token that your application can use to open the signing experience.
These URLs are normally designed to expire after a short period. Generate them per signing session rather than storing and reusing them indefinitely. This limits the exposure of signing sessions and helps ensure that the session is associated with the correct authenticated user and workflow.
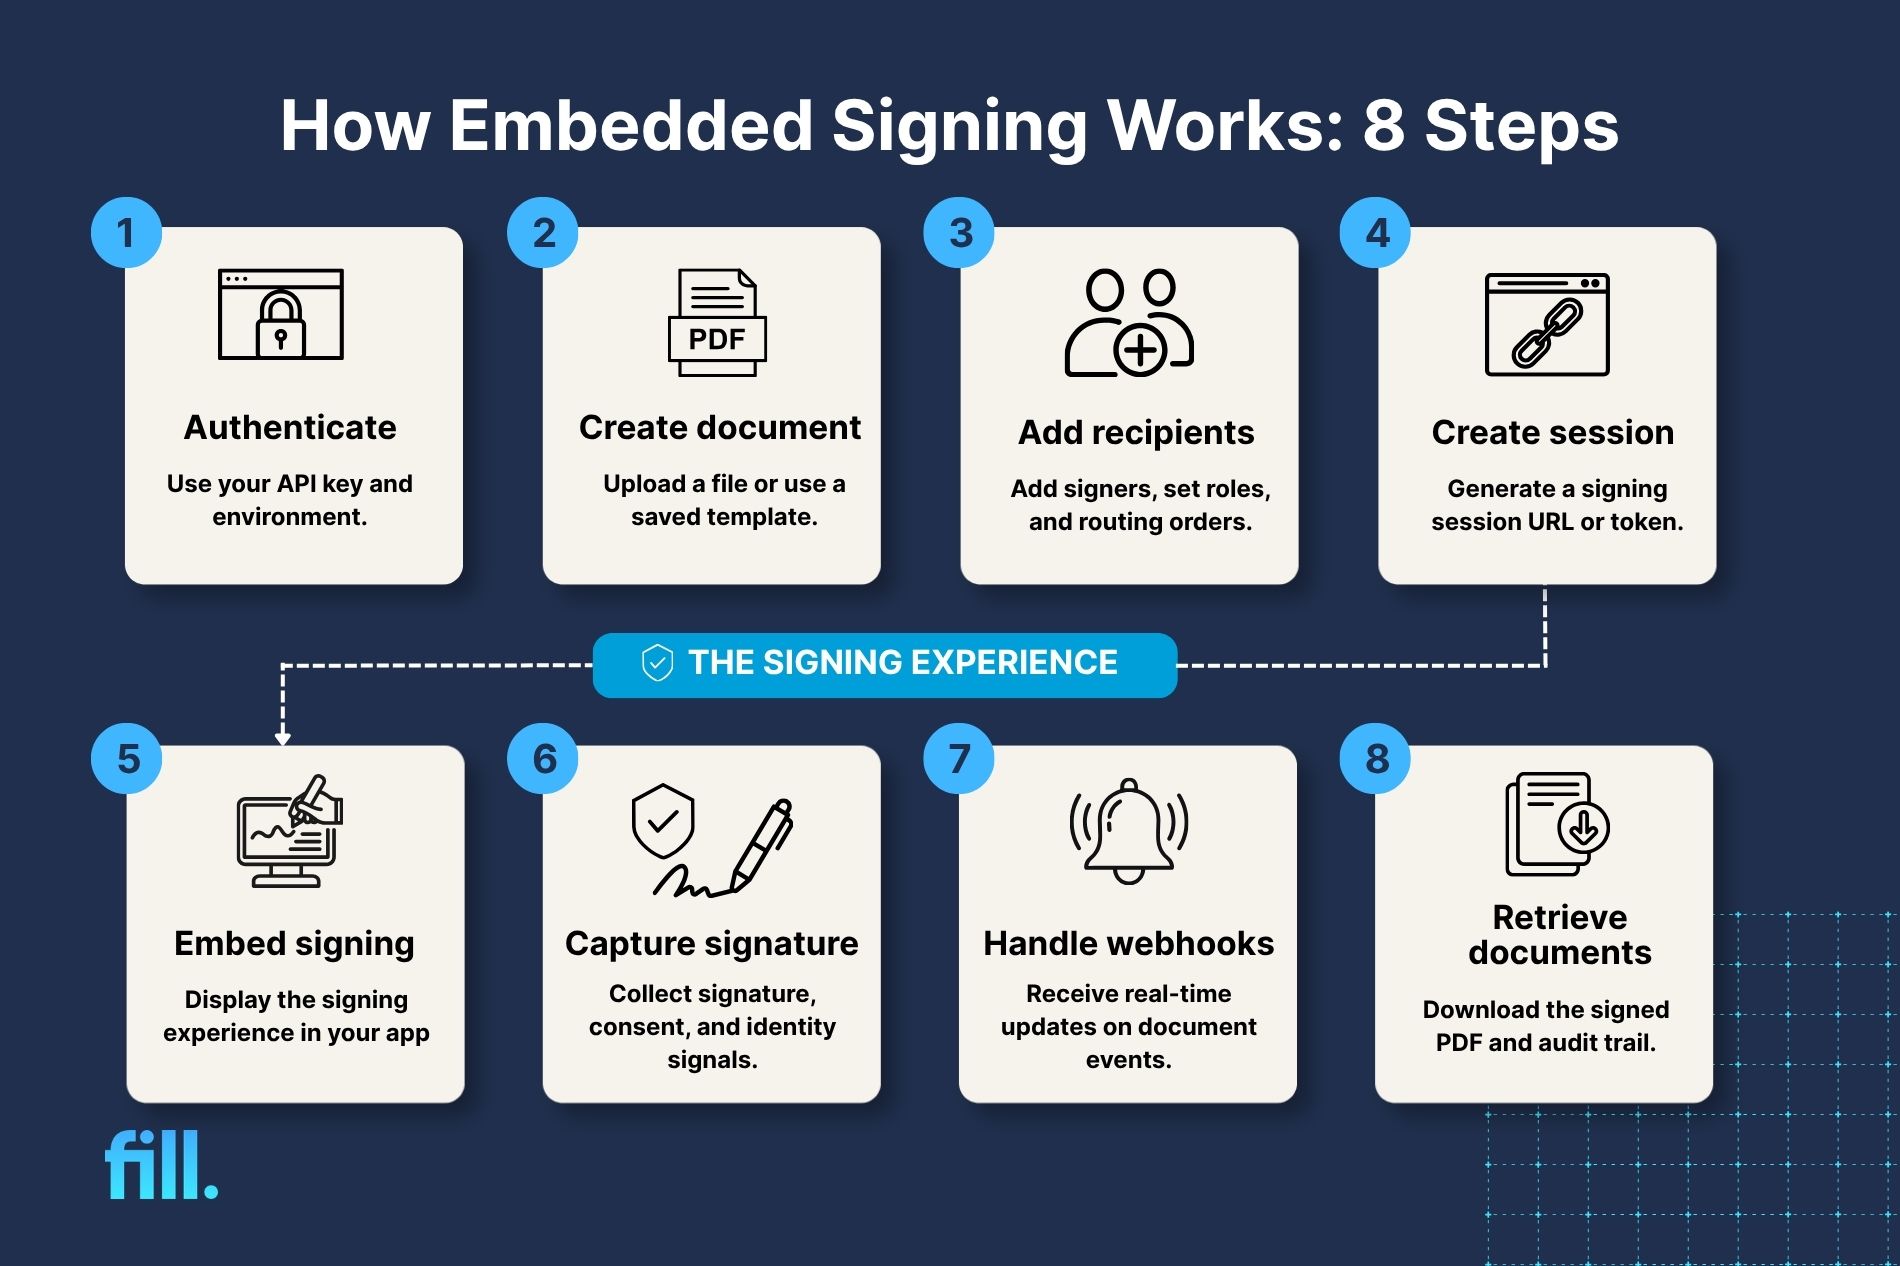
5. Render the signing view inside your app
Your application then displays the signing experience.
Depending on the provider and integration method, you may use:
- An iframe containing a hosted signing URL
- A modal that opens the signing experience
- A JavaScript SDK or web component
- A native mobile component for an iOS or Android application
6. Capture the signature, consent, and identity signals
A complete signing workflow needs more than the signature itself. Your application and eSignature provider should capture evidence associated with the signing event.
This can include:
- Explicit intent-to-sign consent
- Timestamp
- IP address
- User agent
- Authentication method
- Document and recipient information
- Signature event history
The exact evidence collected depends on the provider and configuration.
7. Listen for webhook events
Do not rely on the browser or front end to tell your backend that a document was successfully completed.
Instead, configure webhooks so the eSignature provider can notify your server when important events occur. Useful events include:
- Viewed
- Signed
- Completed
- Declined
- Expired
Your webhook endpoint should verify the provider's webhook signature before processing the event and safely handle retries to prevent duplicate actions.
8. Retrieve the signed PDF and audit trail
Once the document is completed, retrieve the final signed PDF and its associated audit information.
Depending on the provider, this may include a certificate of completion or audit trail showing the document's signing history. Store the completed document according to your application's retention, security, and compliance requirements.
Explore Fill's unlimited eSignature requests
Four ways to embed signing in your product
The right approach depends on how much control you need over the signing interface and how much development work your team can support.
For most teams, the hosted signing URL in an iframe is the practical starting point. Move to an SDK or deeper API integration when the signing experience needs tighter control than an embedded hosted page can provide.
If you don't need a custom embedded experience, a standard eSignature platform may be simpler to implement and manage.
What you need before you build
Before implementing embedded signing, make sure you have:
- An eSignature provider with API access
- Sandbox and production credentials
- Documents, templates, and field-placement rules
- Recipient roles and signing order
- A secure server for API requests
- A webhook endpoint with signature verification
- A plan for document storage and audit records
- An authentication strategy for signers
Is embedded signing legally binding?
Embedded electronic signatures can be legally binding when the signing process meets applicable electronic-signature laws and evidentiary requirements. Embedding the signing experience inside an application does not, by itself, determine whether a signature is legally valid.
A compliant implementation should preserve evidence that helps establish who signed, what they signed, their intent to sign, and when the signing occurred. Depending on the jurisdiction and document type, requirements can vary.
Security is equally important. Keep API credentials on the server, use encrypted connections, protect signing session URLs, verify webhook payloads, and restrict access to completed documents.
Where teams use embedded signing
Real estate platforms
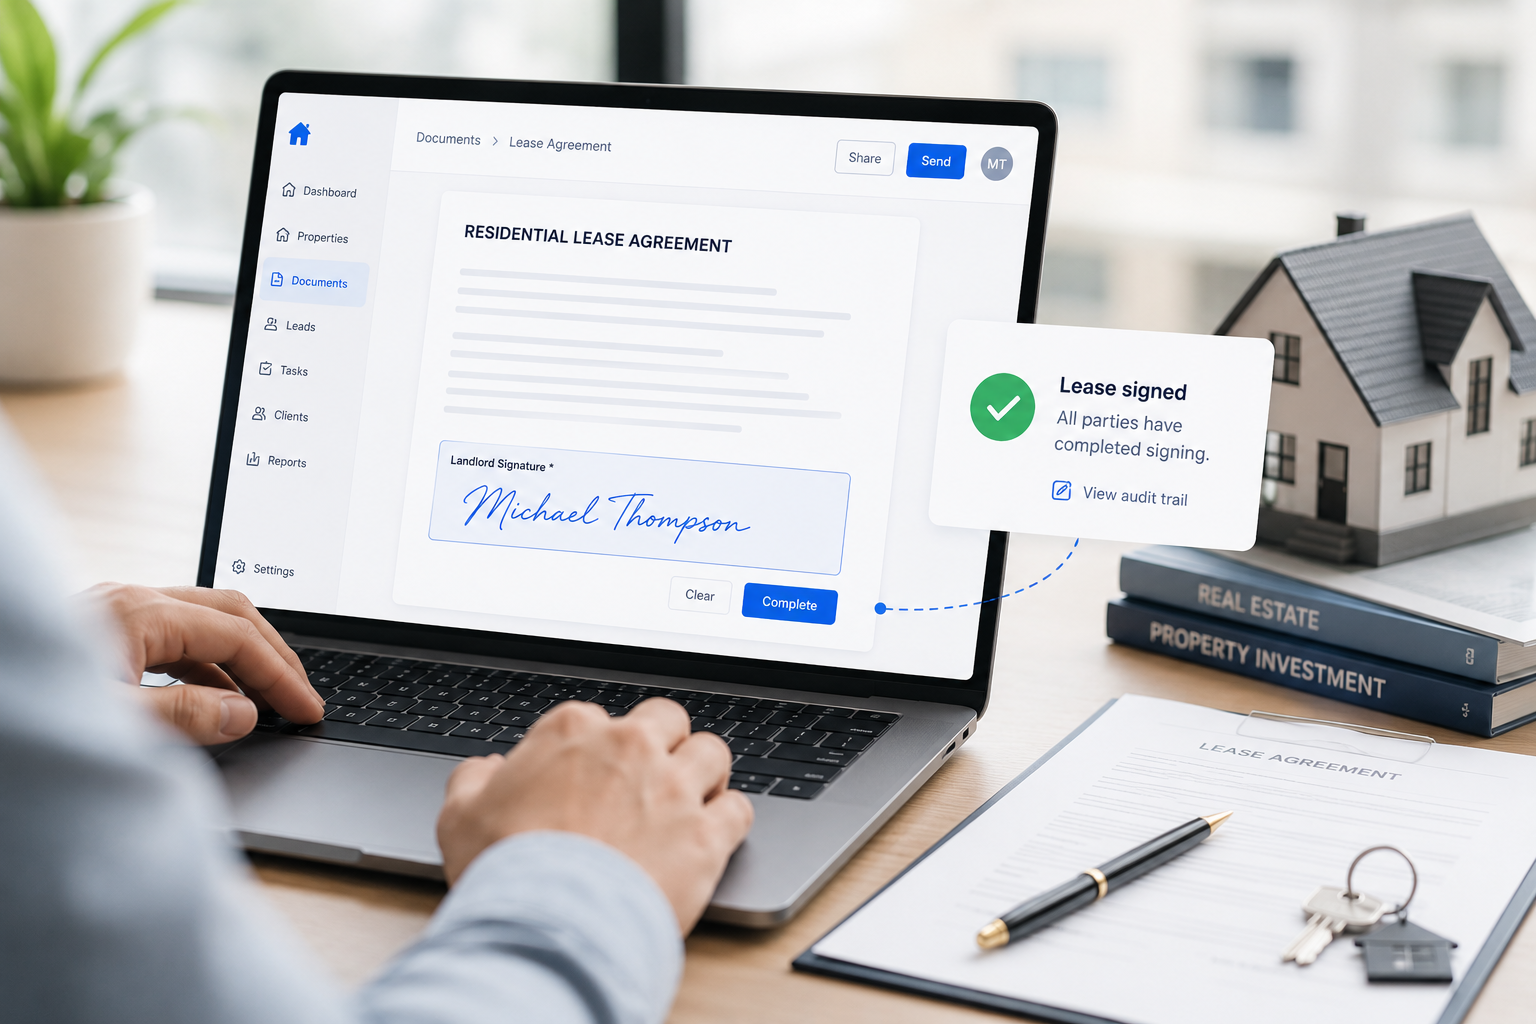
Property management and real estate software can embed leases, disclosures, and other transaction documents directly into the transaction workflow, reducing the need for separate email-based signing.
Loan and financing applications
A borrower can complete an application, review loan documents, and sign without leaving the lending platform. This removes an extra handoff from a workflow where completion speed matters.
Insurance applications
Insurance platforms can present policies, disclosures, and authorization forms directly within the application process. The completed signature can then trigger the next workflow step.
Healthcare intake
Patient portals can incorporate consent forms, authorizations, and other documents into an existing patient workflow. Providers should configure the signing process according to applicable privacy and healthcare requirements.
Employee onboarding
HR platforms can present employment agreements, policies, tax documents, and acknowledgments during onboarding. Once completed, the application can automatically update the employee's onboarding status.
SaaS and marketplace workflows
Software platforms can embed contracts, agreements, and approvals directly into customer or vendor workflows. The signature becomes another product action rather than a separate document task.
Mistakes to avoid when embedding eSignature
- Exposing API credentials in the front end. Keep sensitive credentials on your server.
- Caching signing URLs indefinitely. Generate temporary sessions when they are needed.
- Treating a front-end redirect as proof of completion. Use verified webhook events to update backend records.
- Ignoring webhook retries. Make sure your application can safely process the same webhook more than once without creating duplicate actions.
- Using fixed coordinates for frequently changing documents. Text anchors or template-based fields may be more resilient.
- Skipping signer authentication. Match the authentication method to the risk and requirements of the workflow.
How to choose an embedded eSignature provider
When comparing a digital signature API or embedded signing provider, evaluate the entire signing workflow, not just the API documentation.
Key criteria include:
- API capabilities: Can the API create documents, recipients, fields, templates, and signing sessions?
- Integration options: Does the provider offer an API, SDK, hosted signing URL, or components that match your application?
- Webhook support: Can your backend receive reliable, authenticated event notifications?
- Authentication: Does the platform support the authentication methods your workflow requires?
- Audit trails: Can you retrieve evidence of the signing process with the completed document?
- Security and compliance: Does the provider meet the security and regulatory requirements of your use case?
- Customization: Can you maintain your product's branding and user experience?
- Pricing: Does the pricing model make sense at your expected document volume?
Frequently Asked Questions
What is embedded signing?
Embedded signing lets users sign documents inside your application or website instead of being redirected to a separate signing page. An eSignature API creates the document and signing session, while your application displays the signing experience and receives status updates through webhooks.
What is the difference between an eSignature API and embedded signing?
An eSignature API is the technical interface used to interact with an eSignature service, while embedded signing is a specific way of using that service inside your product. An API can support many operations, including creating documents, managing recipients, retrieving signed files, and processing webhook events.
Are embedded electronic signatures legally binding?
Embedded electronic signatures can be legally binding when the signing process satisfies applicable electronic-signature laws and requirements. The integration method alone does not determine validity. Organizations should consider signer consent, authentication, intent, document integrity, audit records, and jurisdiction-specific requirements.
Do I need an SDK, or is an iframe enough?
An iframe can be enough for many embedded signing implementations. A hosted signing URL loaded in an iframe requires less development than building a custom signing interface with an SDK. An SDK becomes more useful when you need deeper control over the signing experience, UI behavior, or application integration.
How long does a signing URL stay valid?
A signing URL is typically temporary and should be treated as a short-lived session credential. The exact expiration period depends on the provider. Generate a new URL when a signer needs to access the document instead of caching a signing URL for long-term reuse.
Can I white-label the signing experience?
Some eSignature providers offer branding or white-label options, but the level of customization varies. Hosted signing pages may provide basic branding controls, while SDK-based or API-driven implementations can offer greater control. Check the provider's customization options before choosing an integration approach.
How much does an eSignature API cost?
eSignature API pricing varies by provider, usage volume, features, and API access level. Some providers charge per envelope or document, while others use user-based or subscription pricing. Compare the expected cost at your actual signing volume rather than evaluating the API price in isolation.
Add Embedded Signing to Your App with Fill
Embedded signing turns eSignature from a separate document task into part of your product's workflow. Fill gives your team the eSignature tools to create signing sessions, manage documents and recipients, and track completed signatures without building the underlying signing infrastructure from scratch.
Start your free trial with Fill and add eSignature to your workflow.

Related Stories
Fill Now Supports Signer ID Verification (and Other Features to Look Out For)

Contract Signing: Tips, Tools, and Legal Requirements

Everything You Need to Know About the Electronic Signature Act
