While a handwritten signature provides a personal touch to a document, it has its own set of drawbacks. For instance, it can be forged or easily copied, and it lacks the level of security that electronic signatures offer. Thankfully, you do not need to sacrifice one over the other.
How so?
Easy. You scan a signature and turn it into a digital copy. In doing so, you can ensure a secure document signing process while preserving that authentic feel.
This post will show you how.
Table of Contents
What Is a Scanned Signature?
A scanned signature is an electronic copy of a handwritten signature that you can use to sign documents. Usually saved as an image, you can insert it into any digital form or agreement. With it, you can obtain signatures faster by eliminating the need for in-person meetings. You can also avoid the hassle of sending documents back and forth.
Is a scanned signature the same as an electronic signature?
No. A scanned signature is simply a digital image of a handwritten signature. On the other hand, an electronic signature uses cryptographic algorithms to provide a verifiable way of signing a document. The latter also helps provide a more efficient and secure means of signing by minimizing the risk of fraud.
What can you do with a scanned signature?
With a scanned signature, you have the option to sign documents remotely. It’s a great way to save time and increase convenience, particularly when you cannot affix your signature in person.
Plus, you can use the digital counterpart of your handwritten signature to:
- Boost brand awareness. You can display your signature in your email or social media accounts. It’s a simple yet effective way to leave a lasting impression on those who come across your messages or posts.
- Eliminate repetition. You only need to scan a signature once to use it multiple times. There is also no need to rescan the signature. You can store it in your cloud storage for future use.
- Speed up processing times. You can complete the signing of documents in just a matter of hours (or even minutes) instead of weeks. With less time spent on paperwork, you can shift your focus to other projects that require urgent attention.
2 Ways to Scan a Signature
There are two easy ways to create a scanned or image version of your handwritten signature. The first method uses a scanner to create a scanned image. The second method uses your iPhone camera to scan your signature and save it as an image file.

1. Using a scanner
To scan a signature using a scanner, you will need to follow these steps:
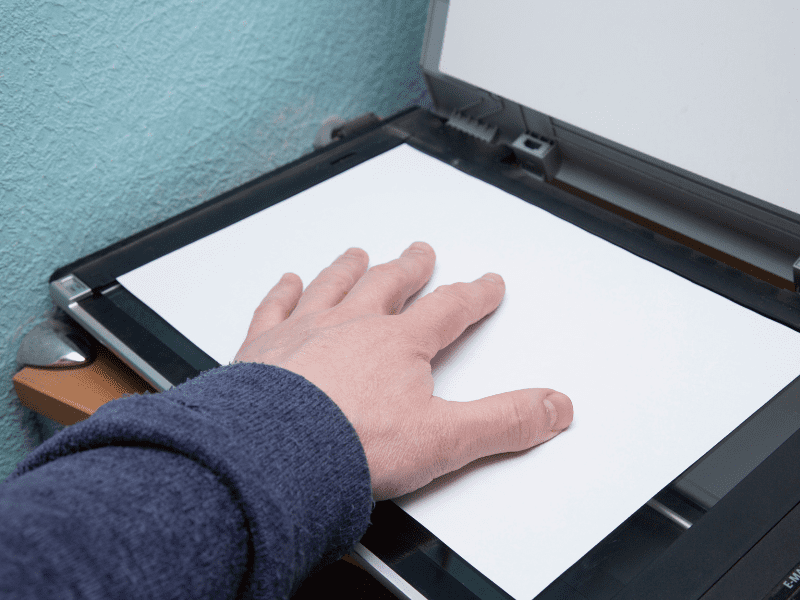
- Prepare your signature by using black ink to write down your signature on blank paper.
- Place the document with the signature face down on the scanner bed.
- Turn on the scanner and open your computer’s default scanner app.
- Select the scan option and choose your desired settings, like resolution and document size.
- Preview the scanned image. Use the selection tool to crop the image and remove any unnecessary borders. If necessary, adjust the contrast and brightness.
- Save the scanned signature as PNG or JPEG.
That’s it. You now have a scanned signature that you can easily insert into your digital contracts.

2. Using an iPhone
Your iPhone offers an alternative way to scan a signature. Even without a paper scanner, you can still obtain a scanned signature by following these steps:
- Have your handwritten signature ready.
- On your iPhone, open the Notes app and create a new note.
- A list of icons should appear on your note creation screen. From there, select the camera icon.
- Tap on Scan Documents.
- Position your iPhone camera over the handwritten signature that you wish to scan. Adjust the angle, lighting, and distance to ensure a clear image.
- Tap on the capture button to take a photo of the signature. You may redo the scan if the result turns out to be blurry.
- Preview the outcome and crop it to your desired size.
- Press Keep Scan, then select Save to proceed.
- Your newly scanned signature will now appear in your note. Tapping on it will allow you to view its actual size. Plus, you can save the signature as PDF to your local or online drive.
How to save the scanned signature as an image?
Since the scanned signature’s default format is PDF, you need a workaround to convert it into PNG or JPEG. The good news is you do not need a third-party app to do this. Just go to the Shortcuts app and follow these steps:
- Create a new shortcut by clicking the plus + icon.
- Enter Convert as image as the new shortcut name.
- Tap Add Action, and then on the search bar, type Convert Image. Select the result with the exact match.
- The action will now display as Convert [Image] to [JPEG].
- Tap on Image, then choose Shortcut Input. In the search bar at the bottom, type and select Share.
- Press the settings icon next to the shortcut name. Turn on the toggle switch next to Show in Share Sheet. Tap Done.
- Open the Files app and select the scanned signature you want to convert. Tap on Share > Convert as Image and then choose Save Image from the context menu.
That’s it. The scanned signature should automatically appear in your iPhone’s photo gallery.
The Drawbacks of Scanning a Signature
There are several drawbacks to using a scanned signature, including:
- Inconvenience: Scanning a signature requires a repeated process that can be burdensome and time-consuming.
- Quality issues: There is always a risk of the signature image being blurry or unclear.
- Security risks: A signature image is more susceptible to forgery and theft.
- Lack of authenticity: Anyone can copy and paste the signature image without permission.
- Legal challenges: Most countries will only recognize a scanned signature as valid if converted into an eSignature.
How to Turn a Scanned Signature Into an eSignature
Converting a scanned signature into an eSignature helps minimize delays and protects you from potential legal challenges. If you want a legally binding digital copy of your handwritten signature, all you need to do is follow these steps:
- Use your phone camera to take a photo of your handwritten signature.
- Go to the Fill website, sign up, and log in to your web dashboard.
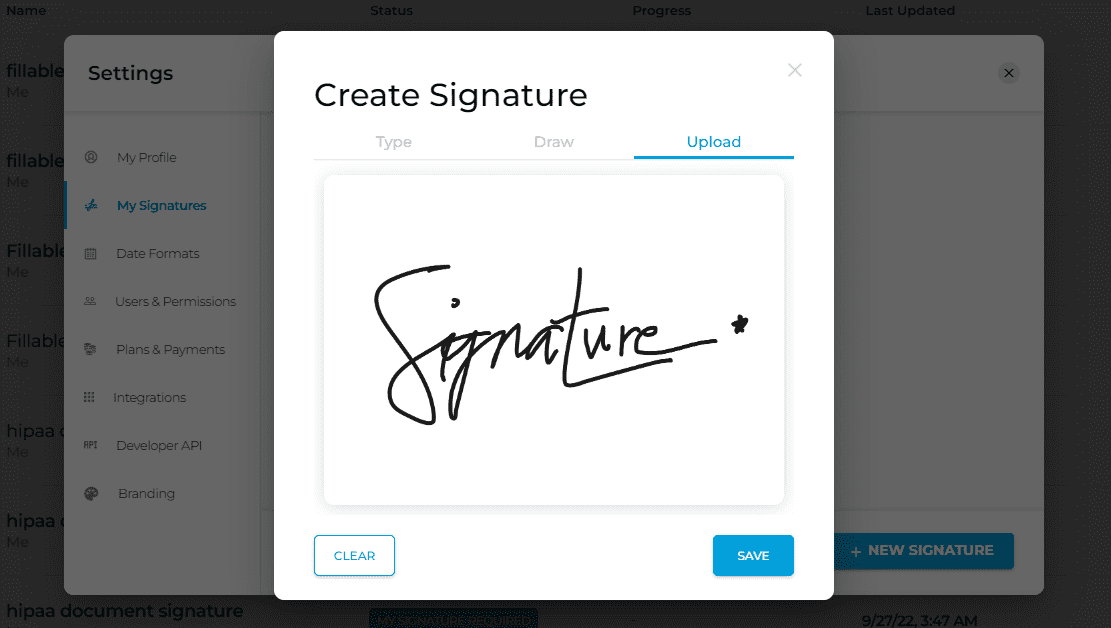
- Go to Settings > General > My Signatures.
- Select New Signature, then choose Upload.
- Upload the photo of your handwritten signature.
- Click Save.
Once saved, you can freely insert the scanned signature into any legal document. You can use it to sign application forms, sales forms, and even rental contracts.
Fill: A Better Way to Create Signatures and Sign Contracts
Using Fill can save you from the hassle of handwriting signatures on paper copies. With our user-friendly solution, you can quickly scan a signature and use it to sign a legally binding document. You only need a phone or laptop to get all your forms and contracts signed.
With Fill, you can:
- Upload and convert your handwriting into a legally binding eSignature.
- Electronically sign documents from anywhere at any time.
- Send unlimited requests for eSignatures and track their progress in real time.
Why scan a signature the traditional way when you can do it faster without compromising quality or security? See how our online eSignature solution can help.
Create a free account to get started.