How to Sign PDFs on an iPhone or iPad Using Mobile Esignatures

How to Sign PDFs on an iPhone or iPad Using Mobile Esignatures

The iPhone and iPad are two of the most-used mobile devices in the US. As of 2018, 73% of Americans said they’d used an iPhone for business purposes.

That staggering number highlights that Apple devices are now considered portable work tools. Many also use these gadgets to sign and request electronic signatures for online contracts. However, doing so can get quite complicated.

Fortunately, there’s a faster and more secure way to sign documents on a mobile device. Read this guide to learn how to sign PDFs on an iPhone and iPad.

How to Sign PDFs on an iPhone With Fill

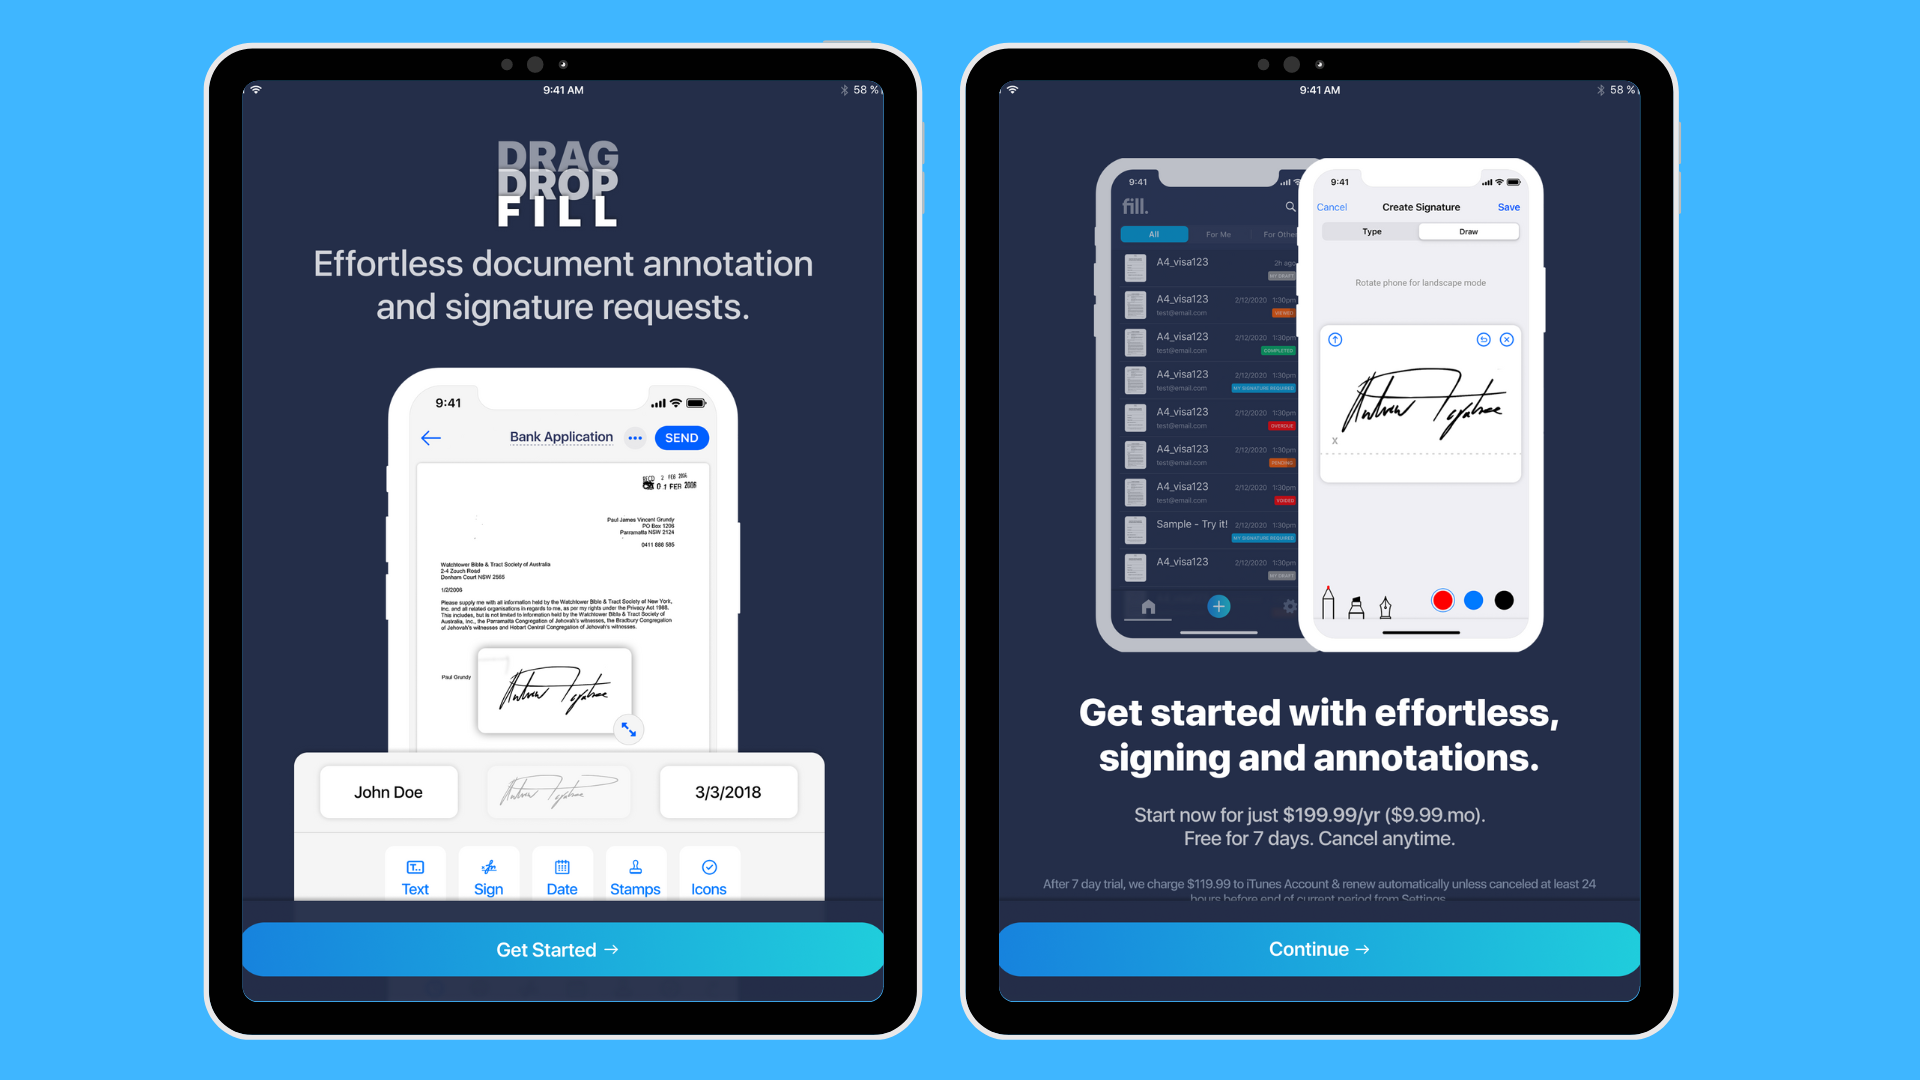
You need a secure and reliable way to sign documents when you’re on the go. With Fill, you can affix your electronic signature using only your iPhone. It also has all the features you should look for in an esignature app.

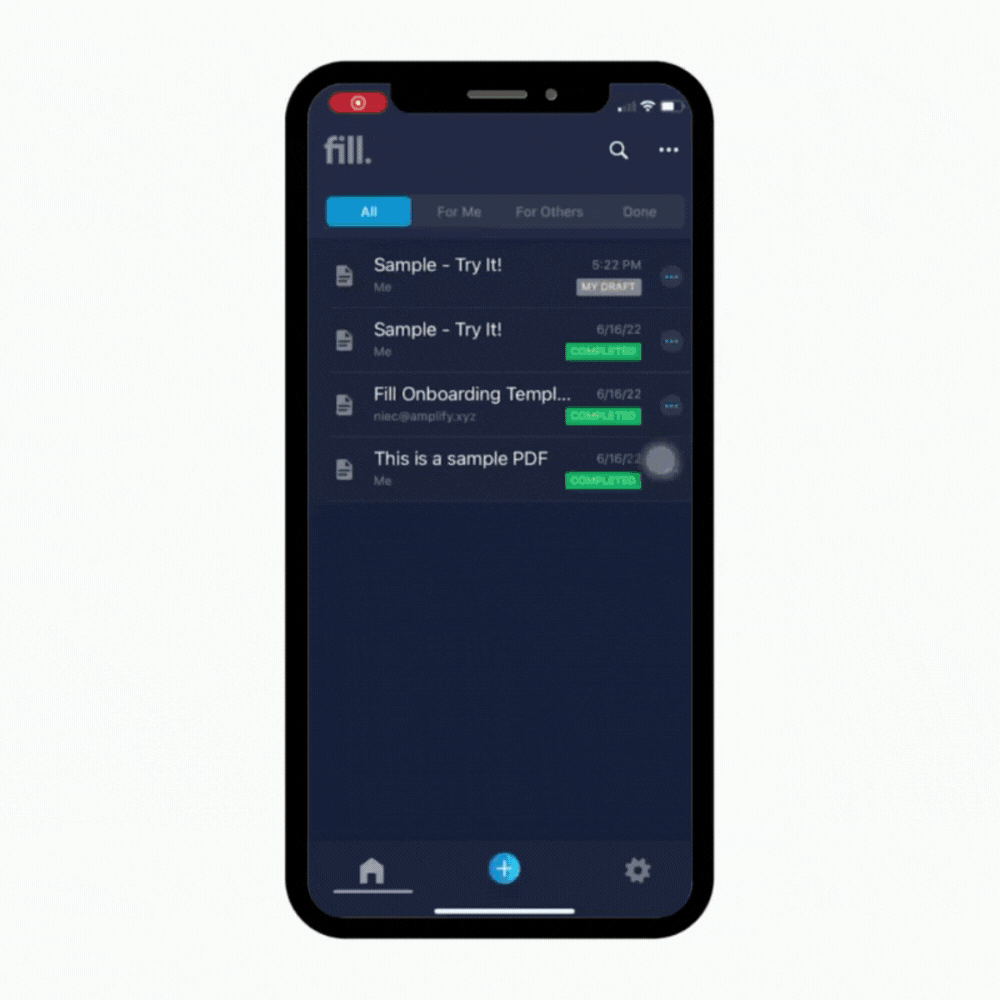
It’s easy to get started with Fill:

1. Download the Fill App from the Apple App Store.

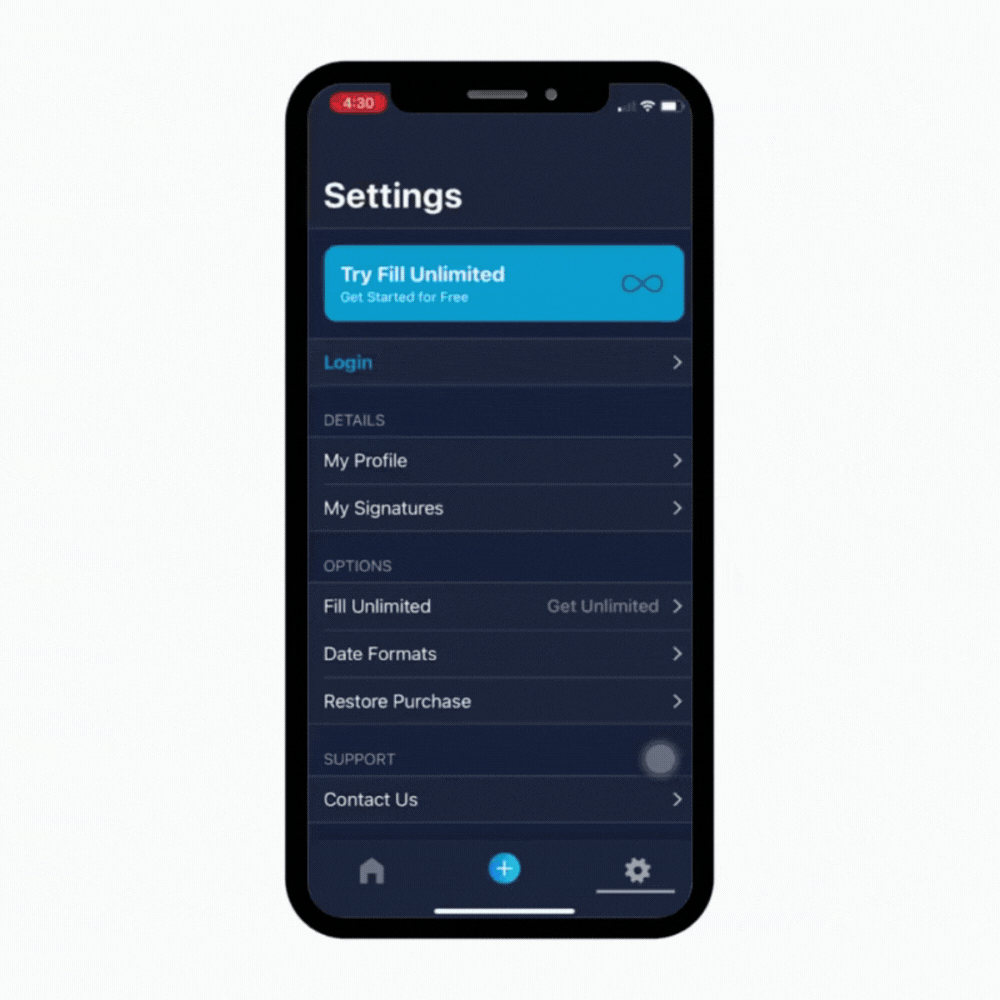
2. Open the app, then sign up or log in to an existing account. You can do this through Google, Apple, or your email address.

Login to Fill for iPhone

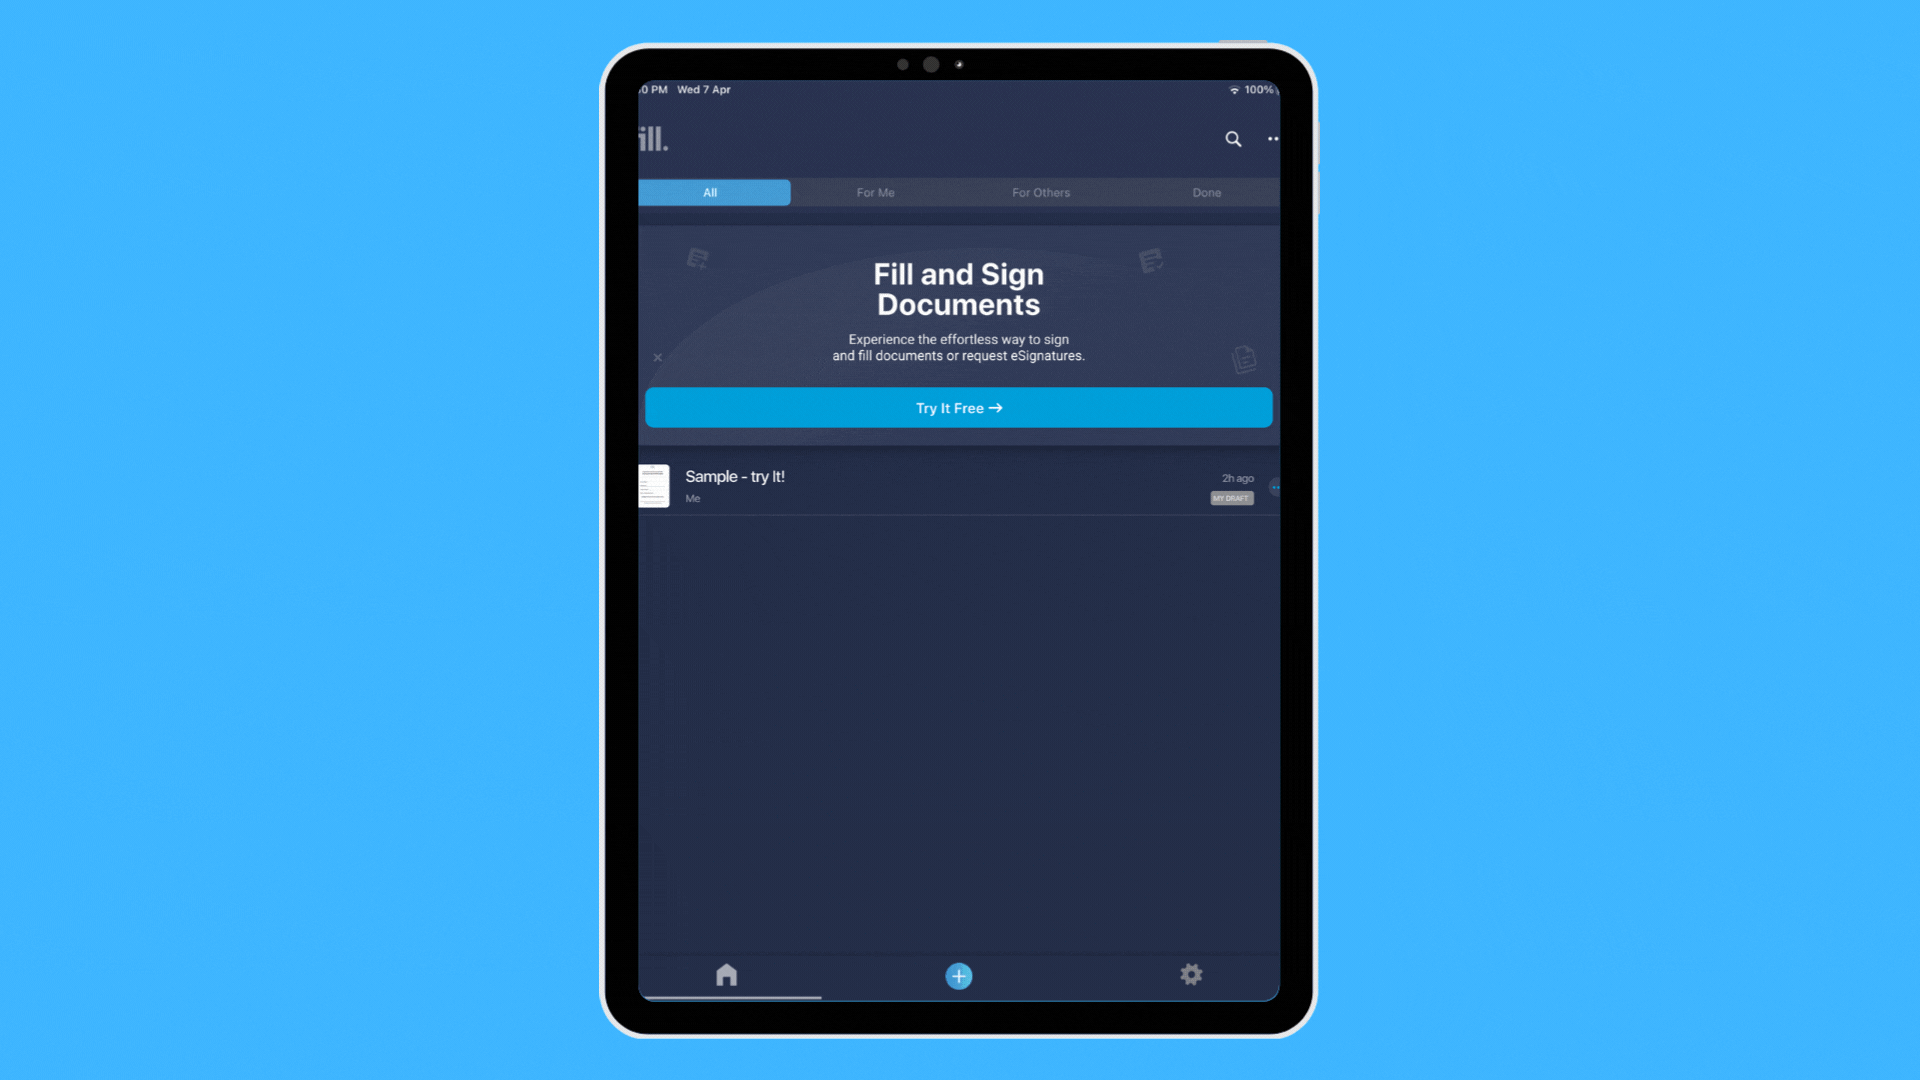
3. From the dashboard, tap on the + button and select a way to add a document.

There are several ways to do this:
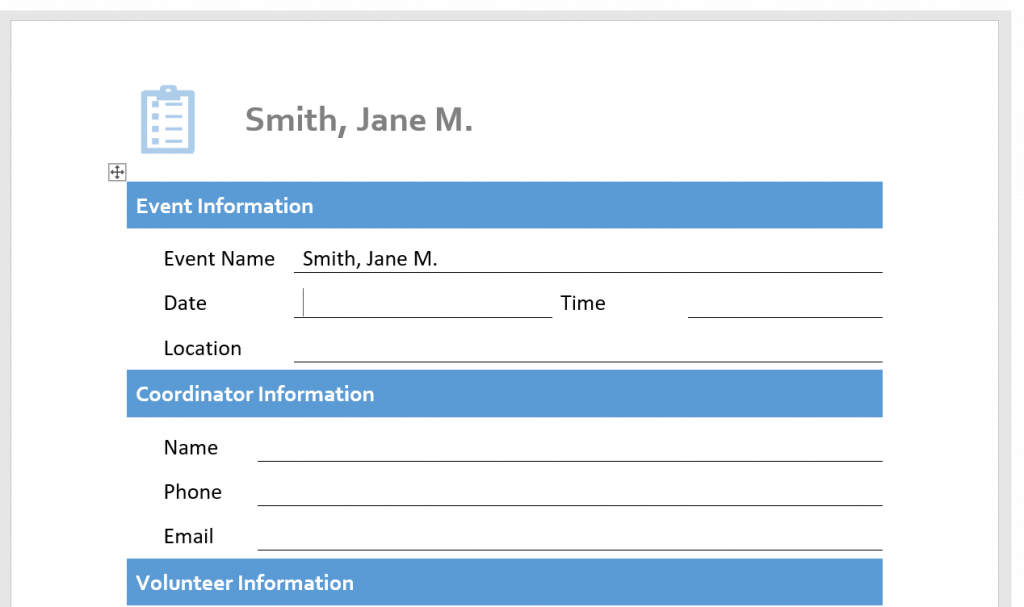
  • Create a new file
  • Use a template
  • Scan a physical copy
  • Import from the cloud
Add document to Fill for iPhone

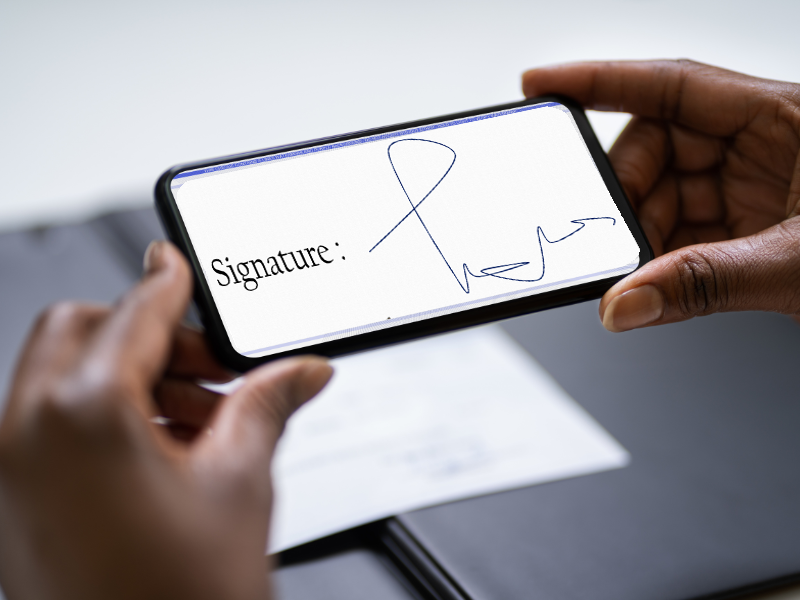
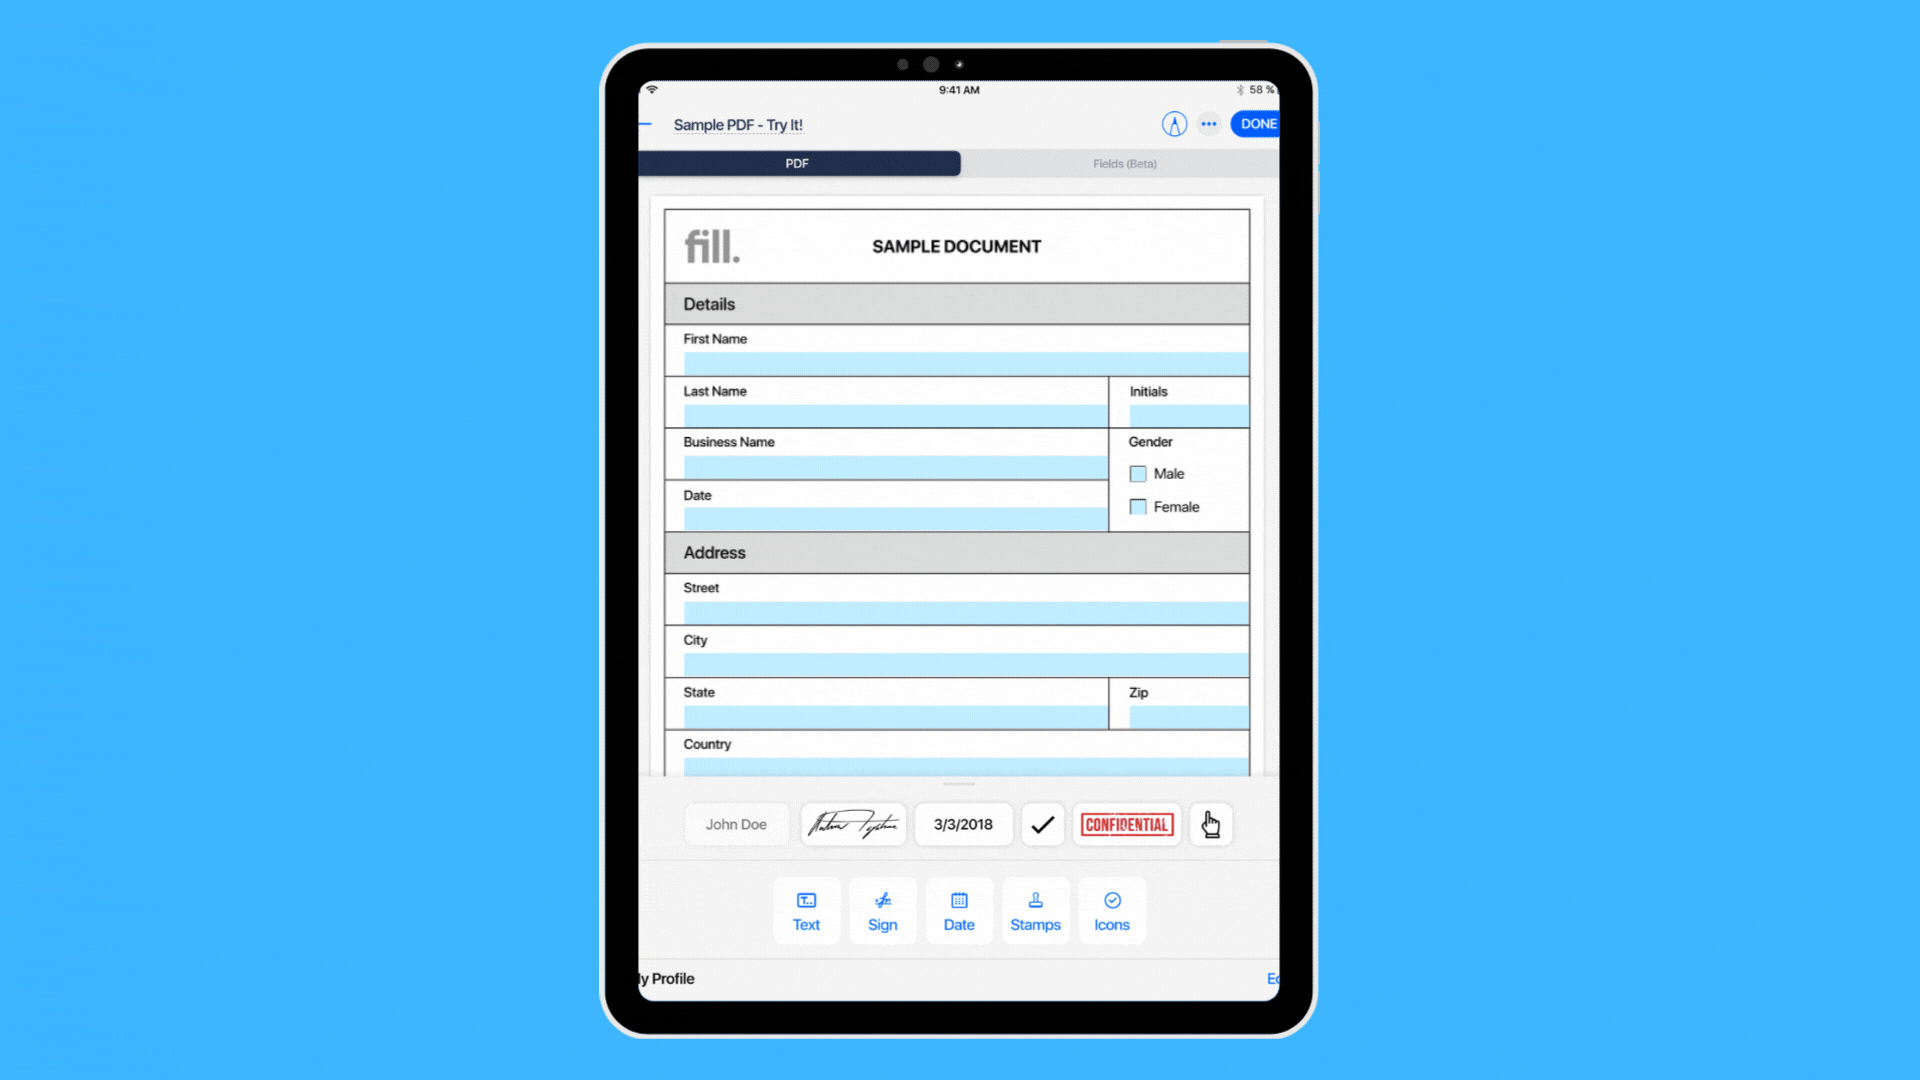
4. The document editor contains esignature tools at the bottom section. Tap the Sign button to add a new signature, which you can accomplish by drawing, typing, or importing an image.

Fill for iPhone Draw Type or Import Signature

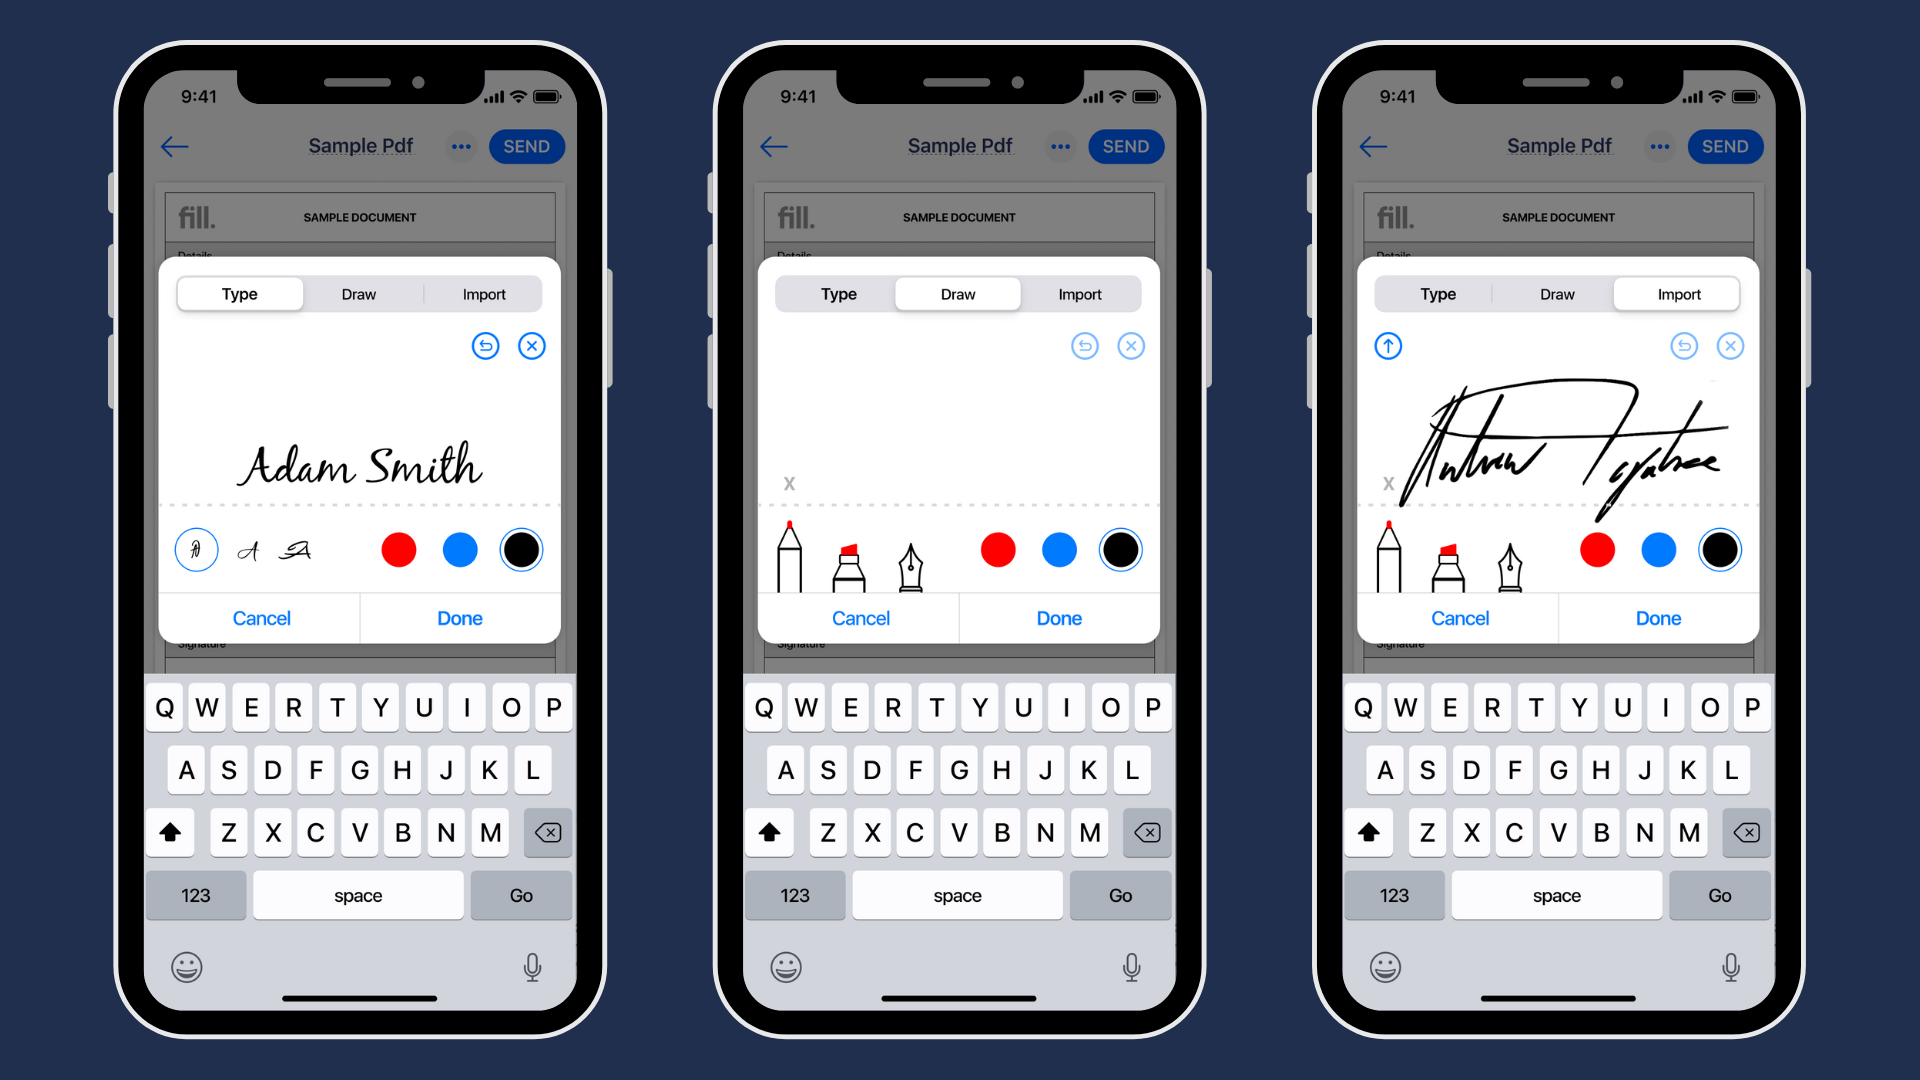
5. Your signature should now be visible on the toolbar. Drag it anywhere inside the document you’re signing.

Fill for iPhone signature box

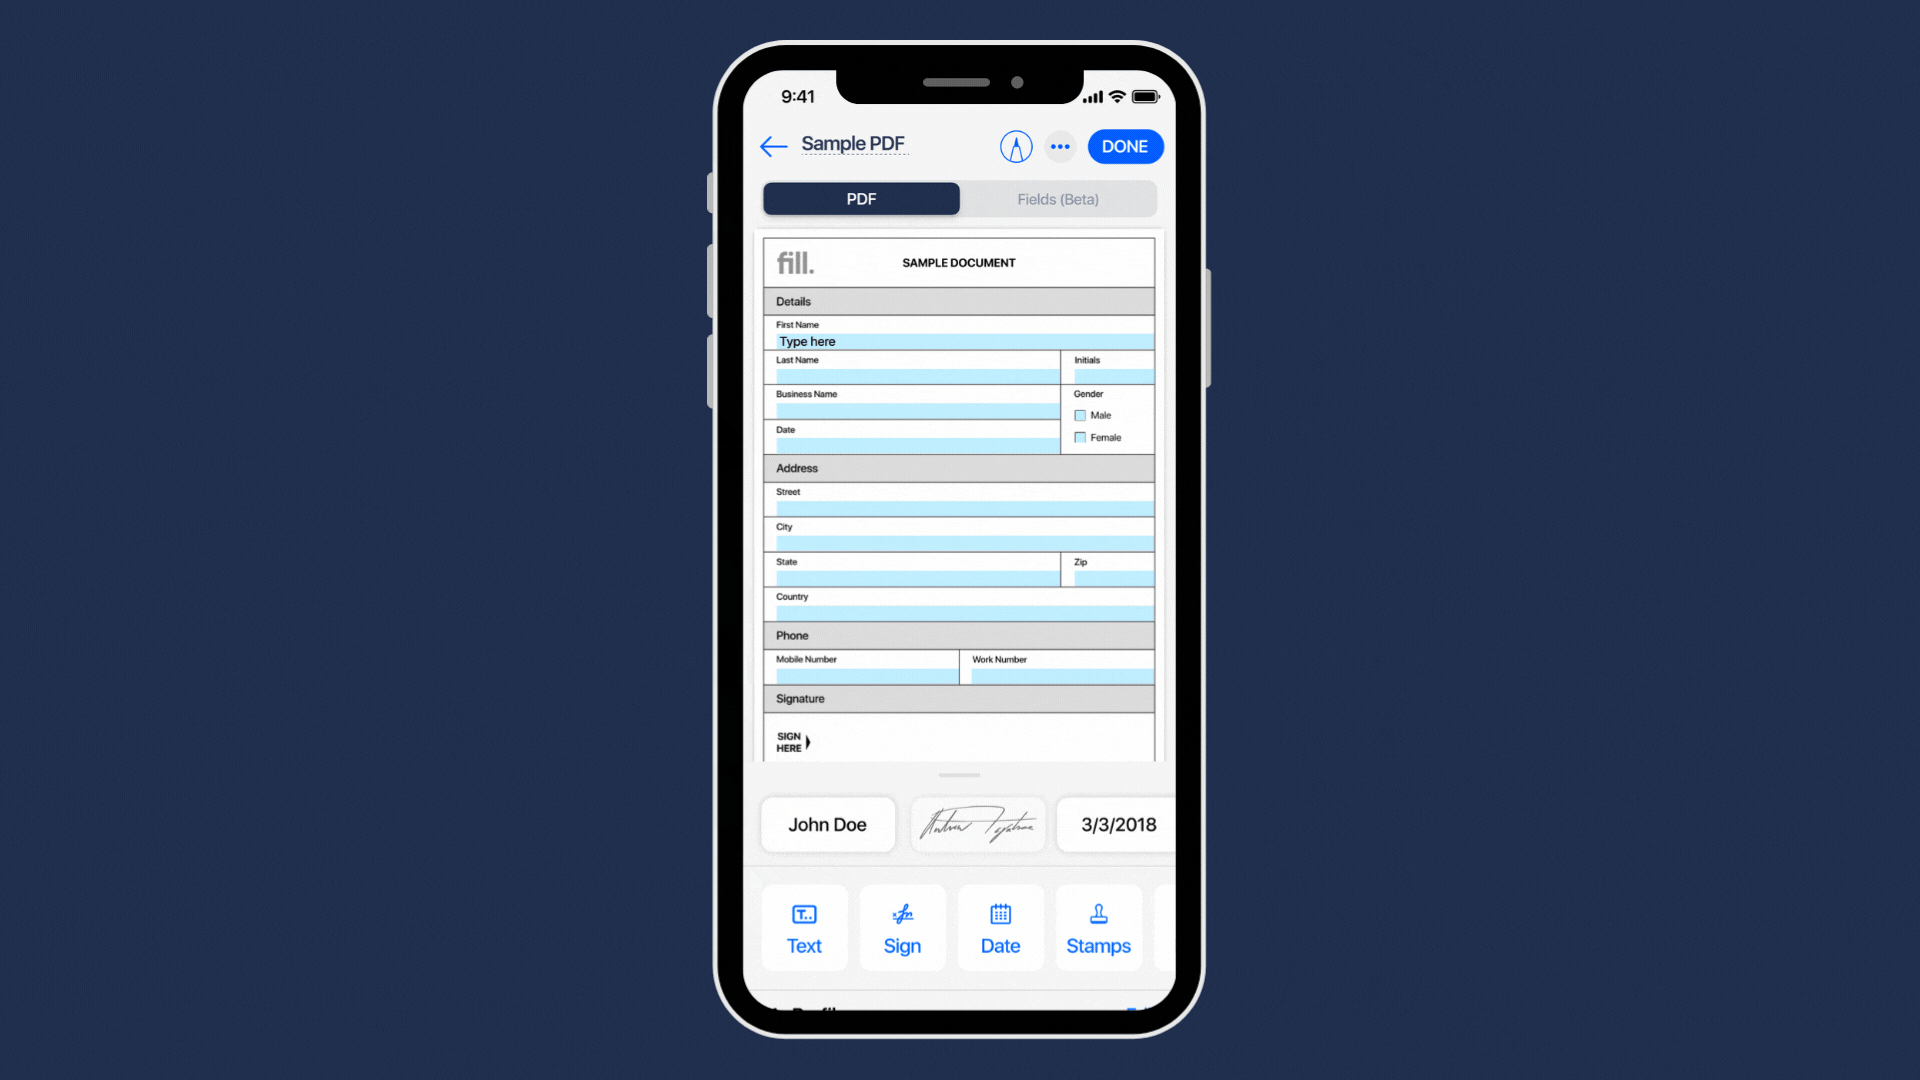
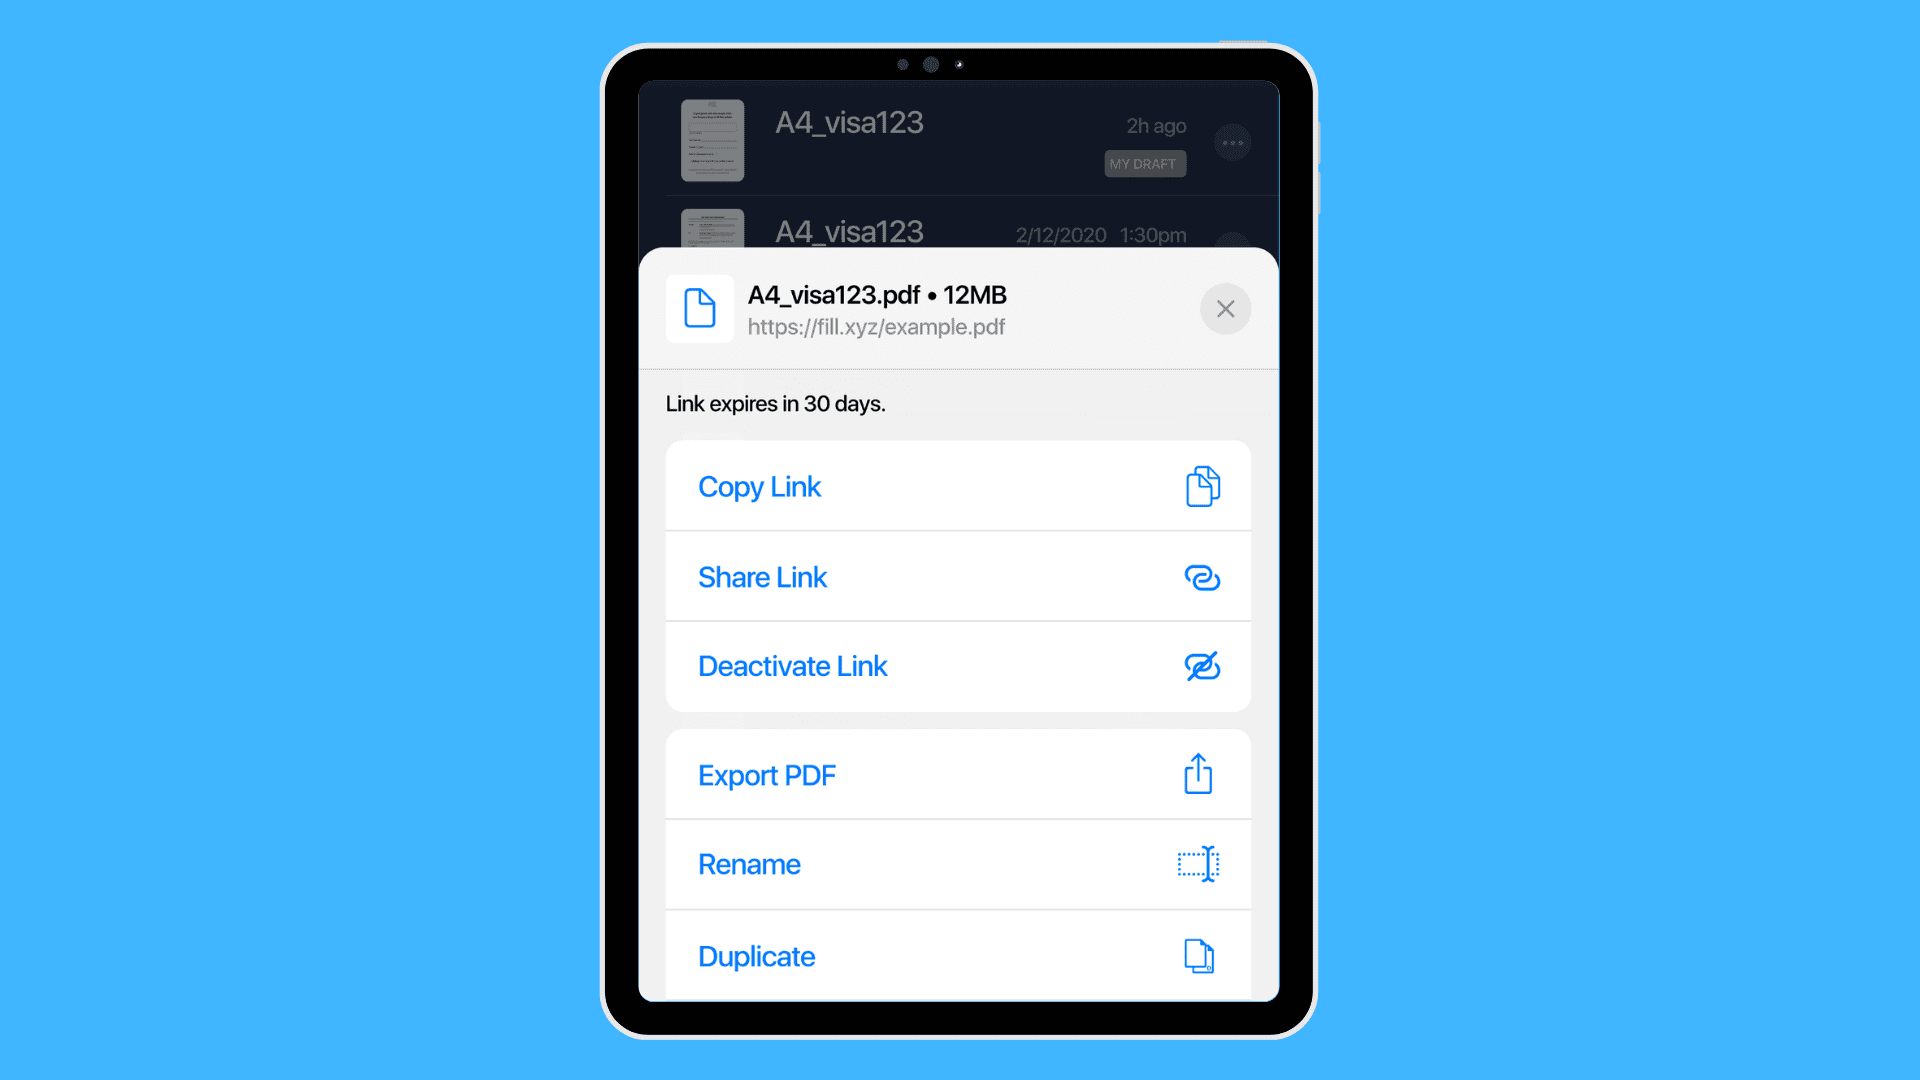
6. Once done, tap the Send button to email a copy or download the file as a PDF.

Fill for iPhone Export PDF

That’s how simple it can be to sign PDFs with an iPhone. The next time you need to sign anything, your electronic signature will be available on Fill.

How to Use Fill to Create an Electronic Signature on an iPad

One advantage of a tablet is the larger display, which makes it easier for you to edit and sign files. Signing documents on an iPad is quite similar to the procedure for iPhones.

Follow the steps below to learn how to sign PDFs on iPad:

  1. Download the Fill app for iPad from the App Store.
  2. Open the app and log in or create a new account. You can use your Google account, Apple ID, or email address.
  3. You can import a new document from iCloud or your device’s local storage to Fill. You could also scan a copy, create a new file, or use a template.Fill for iPad add document
  4. Once you’ve opened the document, tap on the Sign button to create your electronic signature. You can use Fill’s built-in tools to draw, type, or import an existing esignature.Fill for iPad draw type or import signature
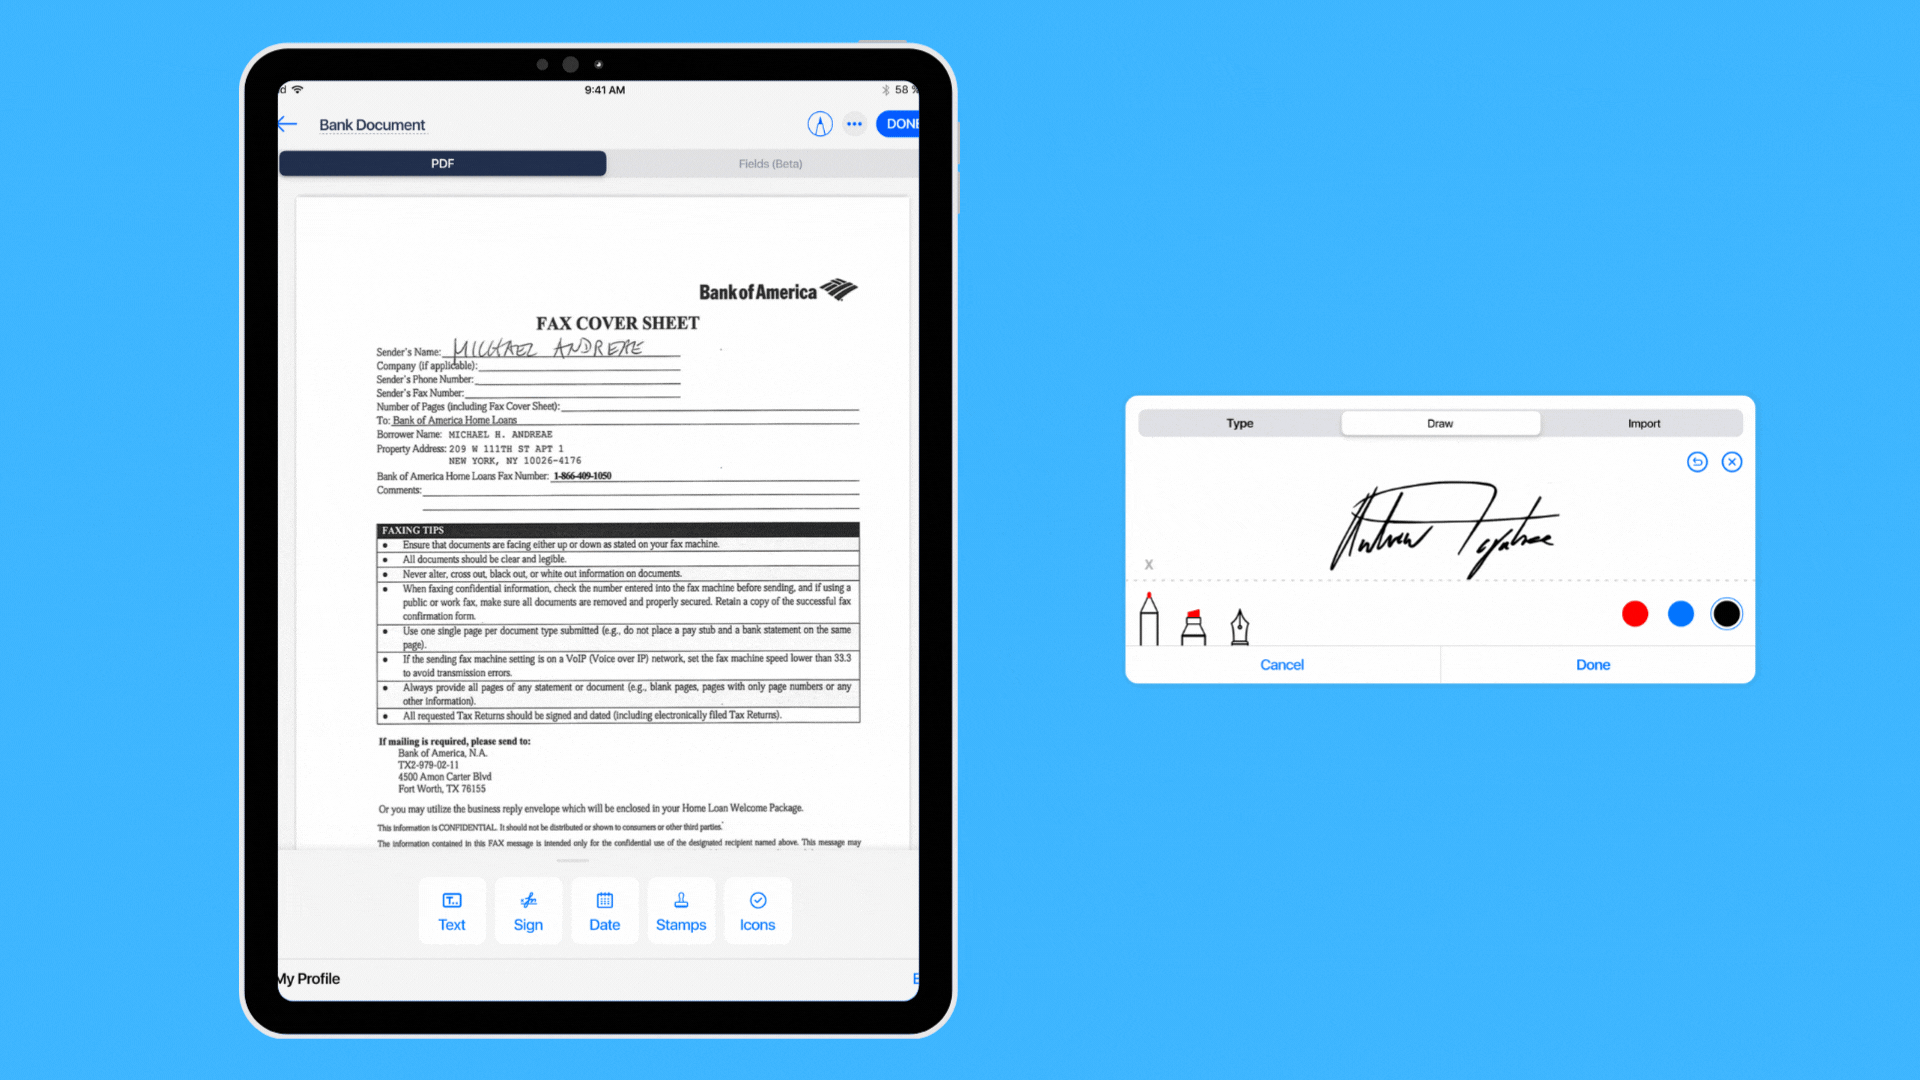
  5. Select and drag your new esignature from the toolbar to your preferred location.Fill for iPad drag signature to document
  6. Complete the process by exporting the document to PDF or emailing it to a recipient. You could also use a shareable link to send signed files directly to your contacts.Fill for iPad Export to PDF

Fill can become a powerful companion for your mobile workflow. It also saves your esignature so you can sign as many documents as necessary using your smartphone or tablet. The readily available tools can take your productivity to the next level.

Are There Other Ways to Sign PDFs on an iPhone or iPad?

Apart from using Fill, there are other methods you can use to sign documents with your mobile device. You can use Apple’s built-in signing solution or an app from Adobe. Follow the short guides below to learn more.

Sign documents on an iOS device with Adobe Acrobat Reader

Adobe Acrobat Reader is available as an iOS app. You can use it to sign PDFs on your iPhone or iPad. However, it has limited support for other document formats.

1. Download the Adobe Acrobat Reader app for iOS on your device.

2. Sign in using your Adobe ID or register for a new account.

3. Look for the left or bottom navigation pane and select Files. You’ll see the option to upload or import a PDF file from cloud storage or directly from your device.

4. Next, tap the Edit icon and select Fill and Sign. Tap the pen nib button from the menu and select Create Signature or Create Initials. Adobe Acrobat Reader lets you do this in three ways:

  • Draw your signature in the Sign Here box.
  • Upload an image of an existing signature
  • Take a photo of your handwritten signature.

5. Once your signature is ready, tap any document section and wait for the pop-up menu. Then, select the pen nib icon to add the signature.

6. Position and resize the signature however you want. Repeat the process as needed.
Save your changes and export the PDF.

While Adobe Acrobat Reader provides a fast way to sign PDFs, some of its restrictions make it less ideal as an esignature solution. You’ll need to attach the file to an email if you wish to request for other signatures or share a signed document. It also may not have as robust a feature set as other apps.

Use Apple Markup to sign PDFs on an iPhone or iPad

Apple has a proprietary method for signing and annotating documents. With Markup, you can add text, drawings, and images to PDF files. The following steps will help you get started:

  1. Open a PDF file preview on the Mail app. You may also open a document through the Files app.
  2. Once you’ve opened the file or preview, you should see the Markup icon that looks like a pen tip. Tap on it to enter markup mode and start annotating.
  3. Create a new esignature by tapping the plus icon on the bottom and selecting the Signature button. You should then see an option to create an electronic signature.
  4. Next, draw your signature on the given space using your finger or an Apple Pencil if you have one for your iPad. You may repeat the process until you’re satisfied with the signature.
  5. Tap on Done and select your esignature. You may enlarge, shrink, and drag your signature anywhere inside the document.

It’s possible to create multiple esignatures on your Apple device. They will appear as an option inside the Markup interface the next time you need to use them.

Try Fill for Quick and Convenient Esignatures on iOS

Fill is the leading electronic signature app for iPhones and iPads.

It can augment your workflow with powerful tools, including document scanning and real-time notifications. It also offers worry-free security through features like signer ID verification and 256-bit encryption. On top of that, third-party integrations with cloud storage services help ensure your documents are always accessible.

Get started for free and experience a better way to sign PDFs on an iPhone or iPad. Fill is available on the Apple App Store for devices running iOS 13.0 and iPadOS 13.0 or later versions.

Jet Sanchez

Jet Sanchez is a Content Writer with a passion for design and technology.

Related Stories

How to Combine PDF Files on Windows and Mac

How to Combine PDF Files on Windows and Mac

Merging multiple PDFs into a single file is a relatively simple process with the right PDF editing tool. In this post, you’ll discover how to consolidate multiple files using third-party apps instead of Adobe Acrobat.

Get great articles direct to your inbox

    We’ll never share your details with third parties.
    View our Privacy Policy for more info.

    Arrow-up