Streamlined Organization for High-Volume Received Documents
Simplify and organize your incoming documents effortlessly using the intuitive Fill dashboard. Monitor document activity and audit trails seamlessly, prioritize tasks, and gain valuable insights into the signing process for each document you receive.
Managing Received Documents in Your Fill Inbox
Edit sent documents, track signing orders & document logs – all in one place.
Easily select and view documents based on their status (pending, completed, expired, or past due).
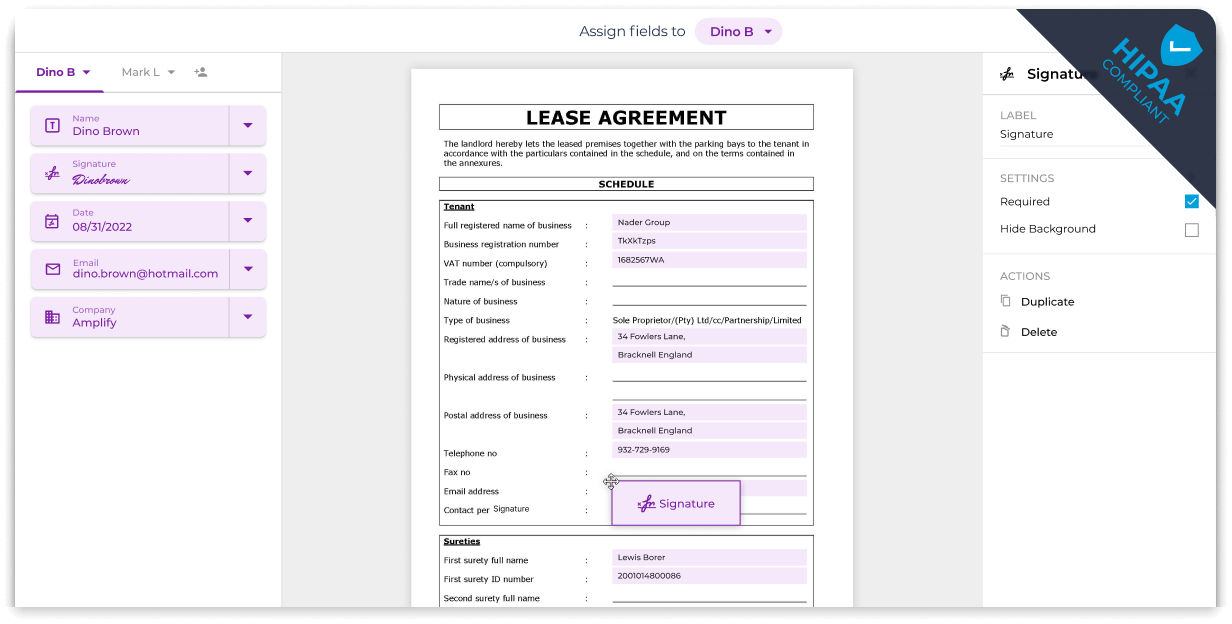
Take Action
Hover over any file to edit, share, download audit trails or as a PDF, view logs, and more.
Simplify Document Inbox Management
Organize your inbox library effortlessly by sorting received documents into status groups, offering a clear overview of your contracts. Enhance document retrieval for your team by creating dedicated folders on your dashboard for agreement types and templates.
Effortlessly sign and send signature requests directly from your inbox without navigating away. Accelerate your workflow by seamlessly sharing files with individual recipients or team members involved in the deal completion.
From the moment your signer opens the document to when they sign it, you can view all of this information in your received document inbox. Leverage this data to gain insights about agreements and discover ways to enhance your client’s next signing experience.