How to Scan and Send a Document With Your Phone (iPhone & Android)
Need to send a paper document but don't have access to a scanner? Most smartphones can scan documents, save them as PDFs, and send them by email in just a few minutes.
Whether you're using an iPhone, Android device, Google Drive, or a document scanning app, this guide walks you through the easiest ways to scan and send documents directly from your phone.
Quick Answer
To scan and send a document with your phone:
- Open a document scanning tool on your phone.
- Scan the document using your camera.
- Save the file as a PDF.
- Share it by email, text message, or file upload.
You can do this using built-in tools such as Apple Notes and Google Drive or with a dedicated document scanning app like Fill.
3 Ways to Scan a Document With Your Phone
Like most people, you probably don't have a scanner at home. But that's no problem because you can scan a document with your phone with a mobile app like Fill, Google Drive, and Apple iPhone’s Notes app.
1. Scan a Document Using Fill

Fill combines document scanning, PDF management, electronic signatures, and document sharing in a single platform.
You can download the application for free available across all devices, whether Android, iOS, Mac, or Windows. It also has a web-based version so that you can access it straight on any web browser.
To scan a document using Fill:
- Download the Fill app on iOS or Android.
- Create a free account.
- Tap the + button and select Scan Document.
- Allow camera access when prompted.
- Capture the document.
- Adjust brightness, contrast, cropping, and color settings.
- Save the document as a PDF.
Once scanned, you can sign the document yourself, request signatures from others, or send it directly by email.
2. Scan a Document Using Google Drive
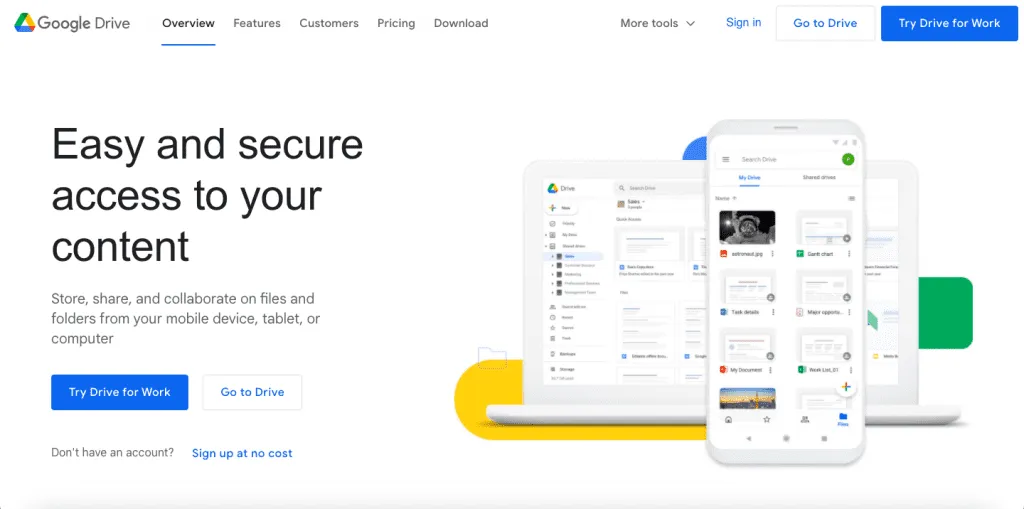
Google Drive includes a built-in scanner that lets you quickly create PDF files.
To scan a document using Google Drive:
- Open the Google Drive app.
- Tap the + icon.
- Select Scan.
- Capture the document using your camera.
- Crop or adjust the image if needed.
- Save the scan as a PDF in Google Drive.
This is one of the easiest options for Android users and works on iPhone as well.
3. Scan a Document Using the Notes App on iPhone
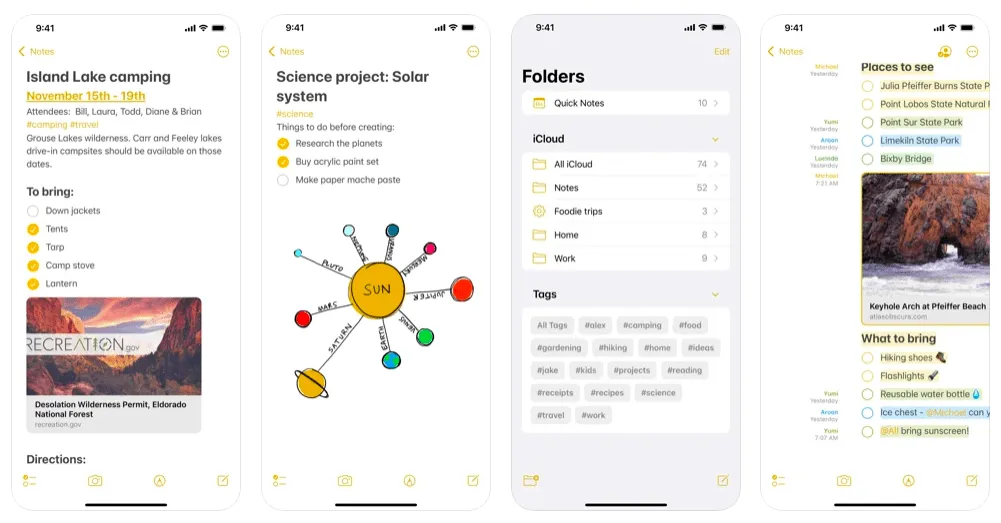
If you're using an iPhone, you can scan documents without installing any additional apps.
- Open the Notes app.
- Create a new note.
- Tap the Camera icon.
- Select Scan Documents.
- Position the document within the camera frame.
- Tap Keep Scan.
- Save the document.
The Notes app automatically detects document edges and can combine multiple pages into a single PDF.
How to Save a Scanned Document as a PDF
Most modern scanning tools automatically save documents as PDF files.
PDFs are preferred because they:
- Preserve formatting
- Are easy to email and share
- Work across devices
- Are widely accepted for applications, contracts, and business documents
Both Google Drive and Fill allow you to save scans directly as PDFs.
How to Scan and Email a Document From Your Phone
Once your document has been scanned and saved as a PDF:
- Open your email application.
- Create a new message.
- Tap Attach File.
- Select the scanned PDF.
- Enter the recipient's email address.
- Send the email.
Using Google Drive:
- Open Google Drive.
- Locate the scanned PDF.
- Tap the three-dot menu.
- Select Send a Copy.
- Choose Gmail or another email application.
- Send the file.
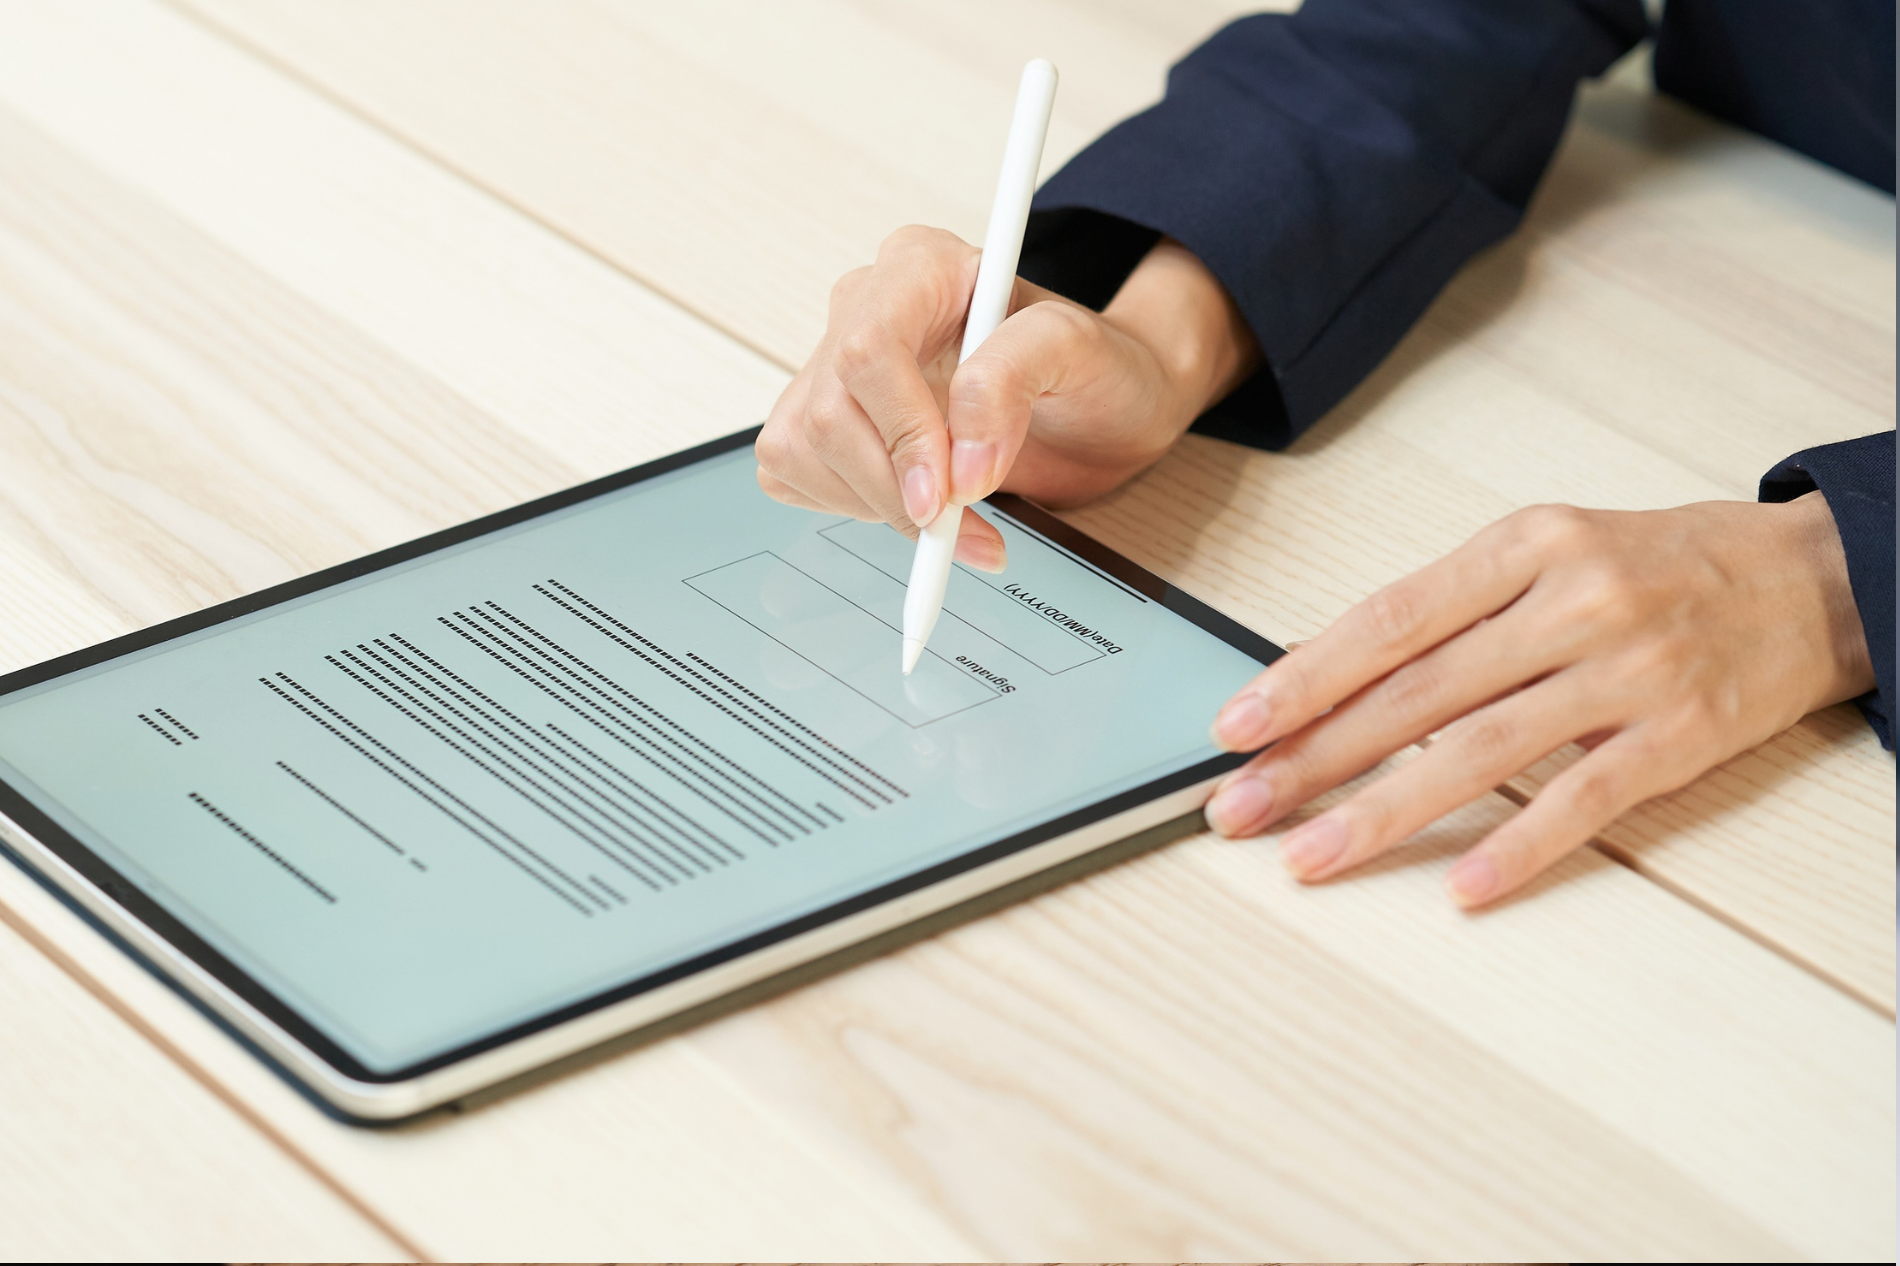
How to Send a Scanned Document for Signature
If the document requires signatures, you can send it directly from Fill.
After scanning:
- Upload or save the document.
- Add signature fields.
- Enter the recipient's email address.
- Send the signing request.
Fill lets you track document activity, receive delivery notifications, and monitor signing progress from a single dashboard.

Tips for Better Mobile Scans
To improve scan quality:
- Place documents on a flat surface.
- Use bright, even lighting.
- Avoid shadows across the page.
- Keep your phone steady.
- Review scans before sending.
Higher DPI settings generally produce sharper scans but create larger file sizes.
Final Thoughts
Knowing how to scan and send a document with your phone can save time and eliminate the need for a traditional scanner. Whether you're submitting forms, sharing contracts, or sending signed agreements, modern smartphones make it easy to digitize and share documents from anywhere.
For users who regularly work with PDFs, forms, and signatures, Fill combines scanning, signing, OCR, storage, and document delivery in a single solution.
Give Fill a try today and see how easy it is to manage your entire document collection in the cloud.
Frequently Asked Questions
Can I scan a document with my phone?
Yes. Most smartphones include built-in document scanning tools or support scanning apps that can create PDF files.
Is scanning a document the same as taking a photo?
No. Document scanners automatically detect edges, straighten pages, improve contrast, and create cleaner PDF files than standard photos.
How do I scan and send a document by email?
Scan the document, save it as a PDF, attach it to an email, and send it to the recipient.
How do I save a scanned document as a PDF?
Most document scanning apps automatically save scans as PDFs. Google Drive, Apple Notes, and Fill all support PDF output.
What is the best app for scanning documents?
Built-in tools like Apple Notes and Google Drive work well for basic scanning. If you need electronic signatures, document sharing, OCR, and workflow automation, Fill provides those capabilities in a single platform.

Related Stories

How to Sign a Document (Online, PDF, Word, or on Your Phone)
How to Sign a PDF on an iPhone or iPad Using Mobile Esignatures
View our Privacy Policy for more info.