Access a Suite of Workflow Tools with HIPAA Compliant Zapier Integration
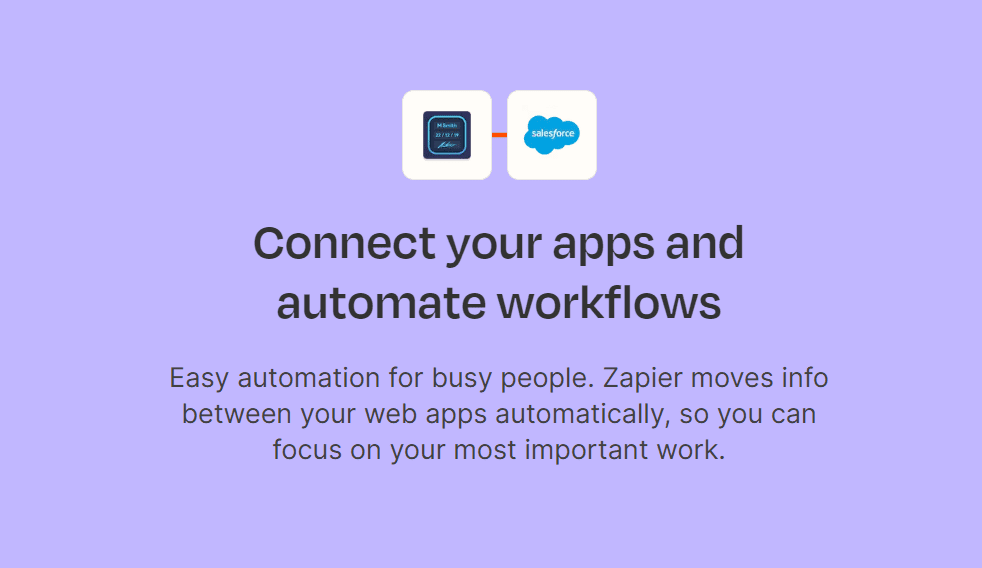
Integrate a range of workflow tools seamlessly on one platform through Fill’s Zapier integration. Automate repetitive tasks and seamlessly incorporate document signing, sender reminders, and contract status monitoring into your workflow without opening the Fill app separately.
How to setup Fill to Zapier integration
Access
Log in to your Fill dashboard, go to Integrations & API, and select Zapier. Also, make sure you are signed in to your Zapier account.
Integrate
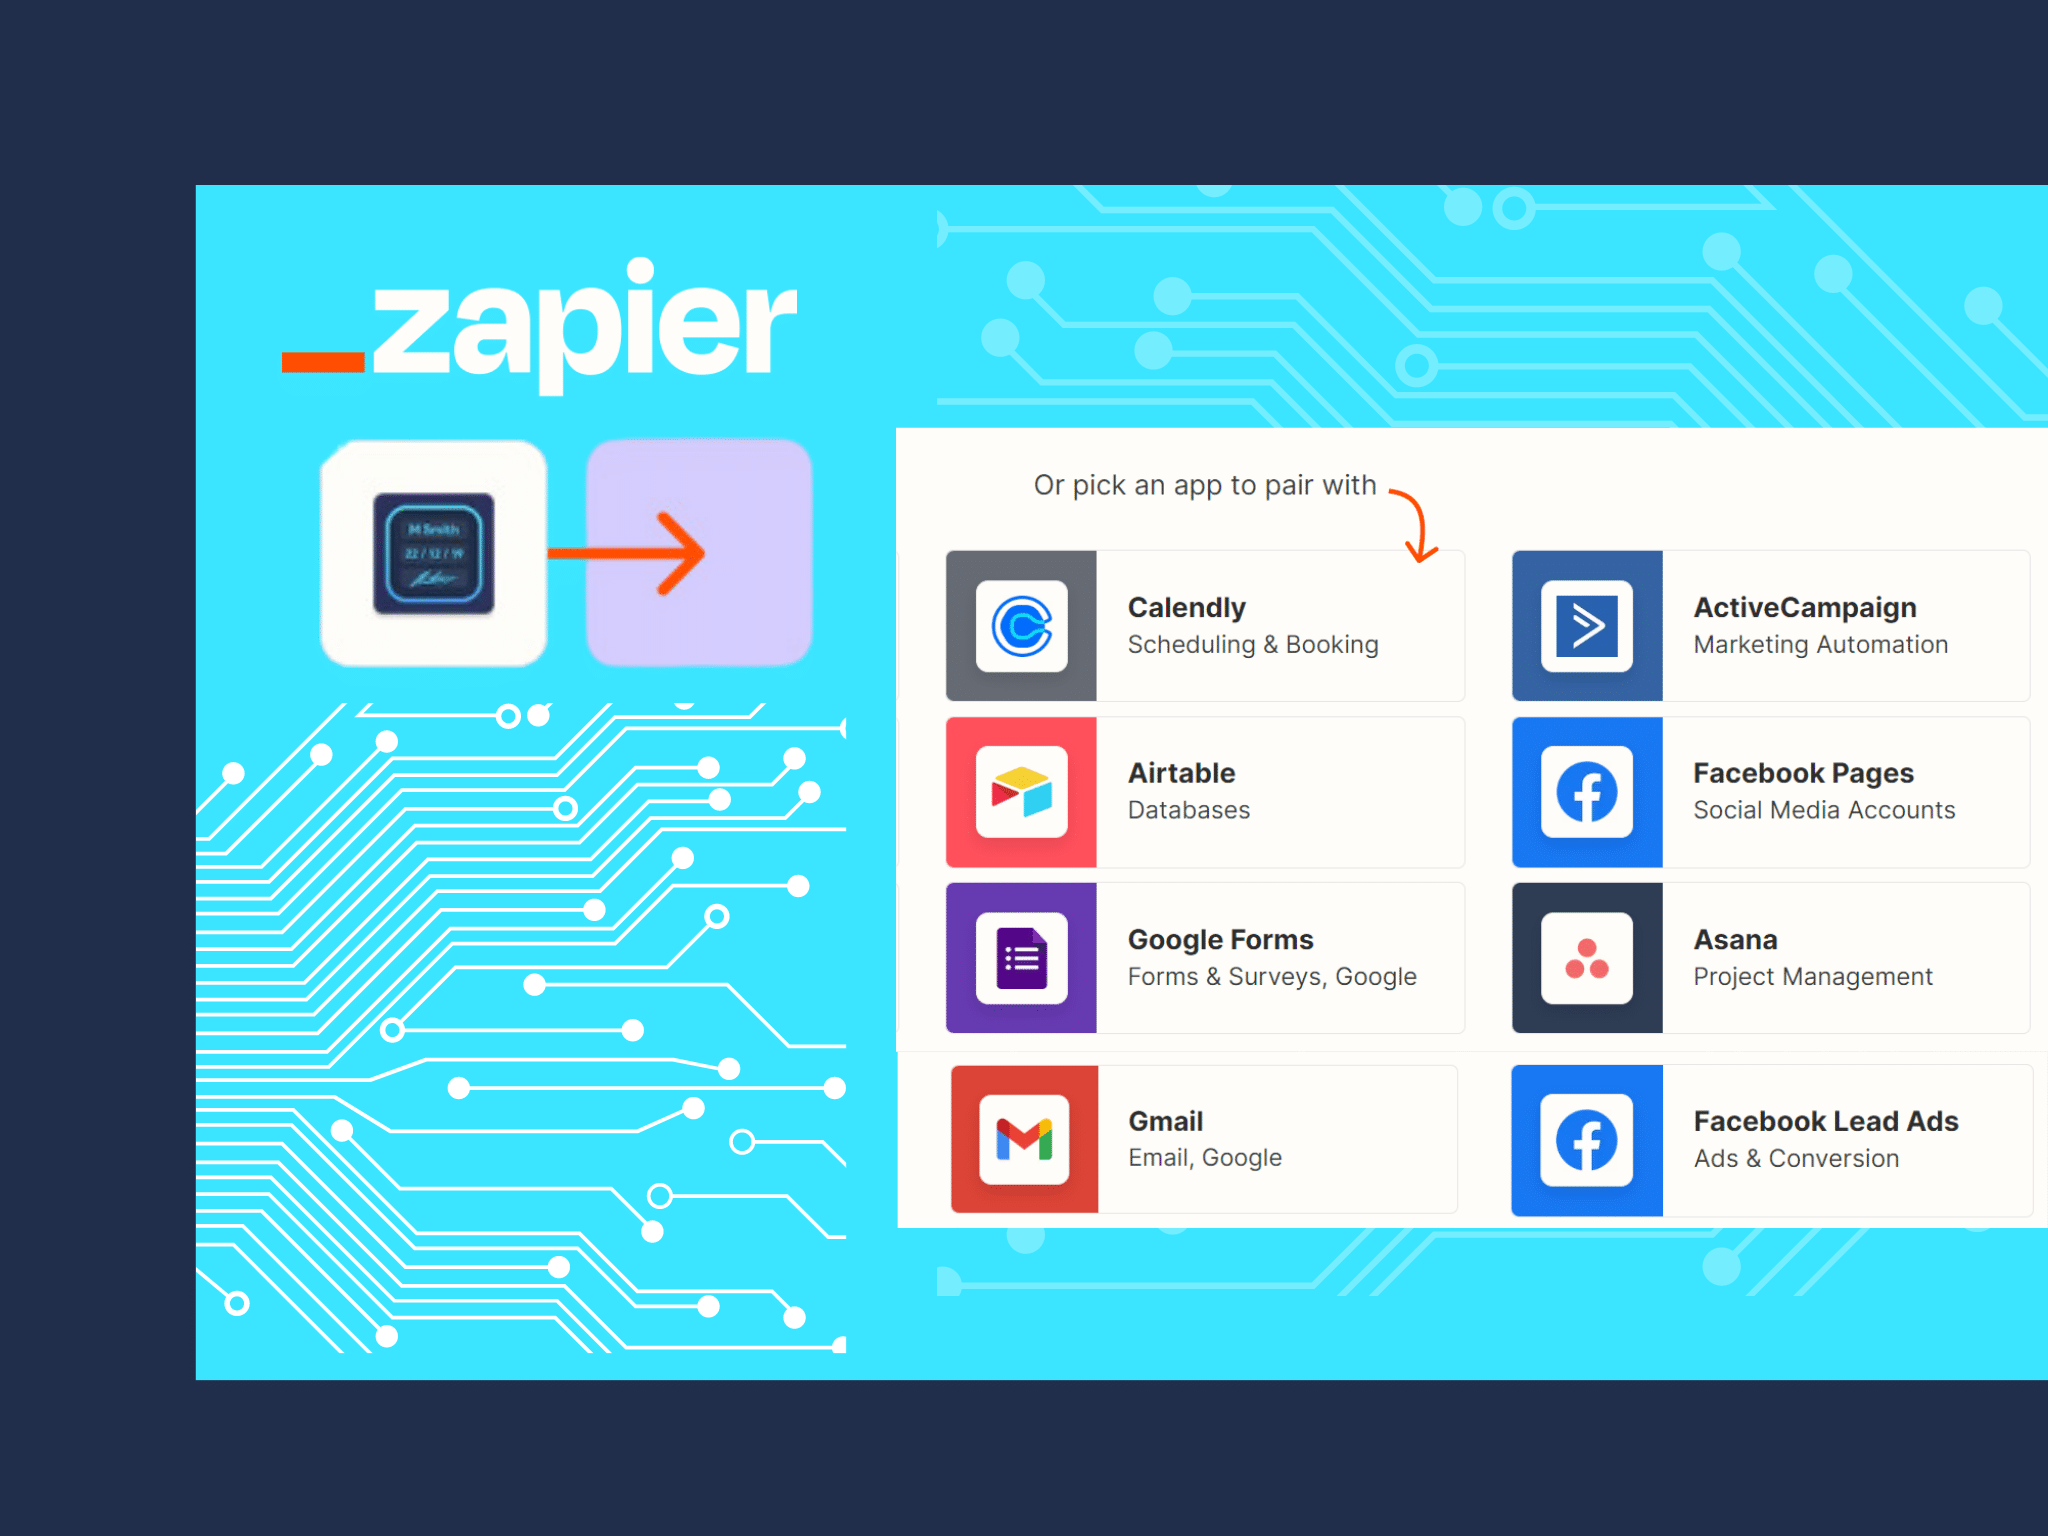
Go to Fill’s Zapier app page and choose an app to integrate with Fill. Then, select the action you want to trigger for a specific event.
Test & Save
Test your automation and once you’ve confirmed that it’s functioning properly, you can deploy the automation and let it run automatically.
Integrate a wide range of applications
Connect your Fill account with various applications like Quickbooks, Hubspot, Salesforce, Google Forms, Microsoft 365, and more using Zapier integration. Eliminate the need for multiple third-party integrations and streamline your tasks on a single platform.
Automate workflows and get more tasks done in less time by setting triggers to initiate actions between different platforms. For example, when a document is sent, create a new task in Asana automatically.
Smart Document Routing Made Simple with Zapier Integration
Streamline approval workflows effortlessly with automated routing to the designated stakeholders. Eliminate manual intervention, freeing up valuable time for crucial tasks.
Leverage Zapier integration to expedite document creation and signature requests, elevating customer satisfaction and fostering quicker decision-making and collaborative efforts.